Modeling interface elements
Names and descriptions
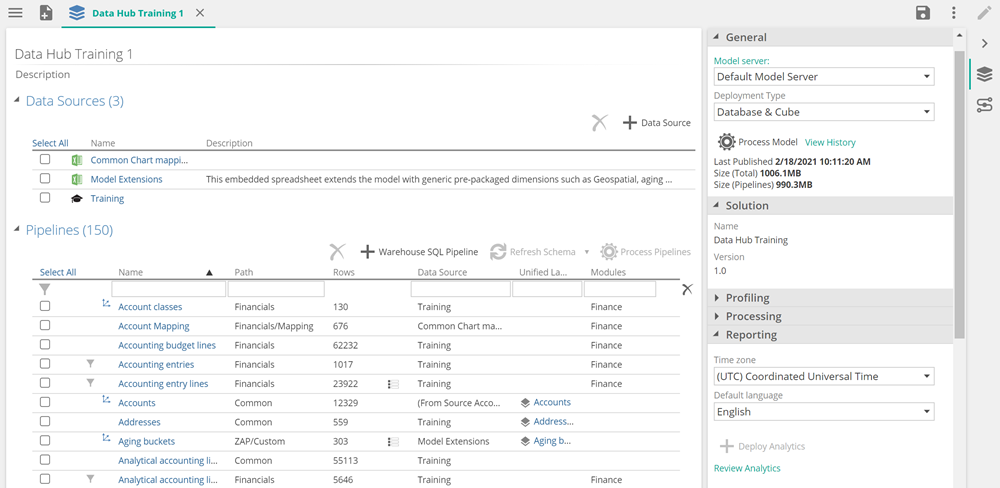
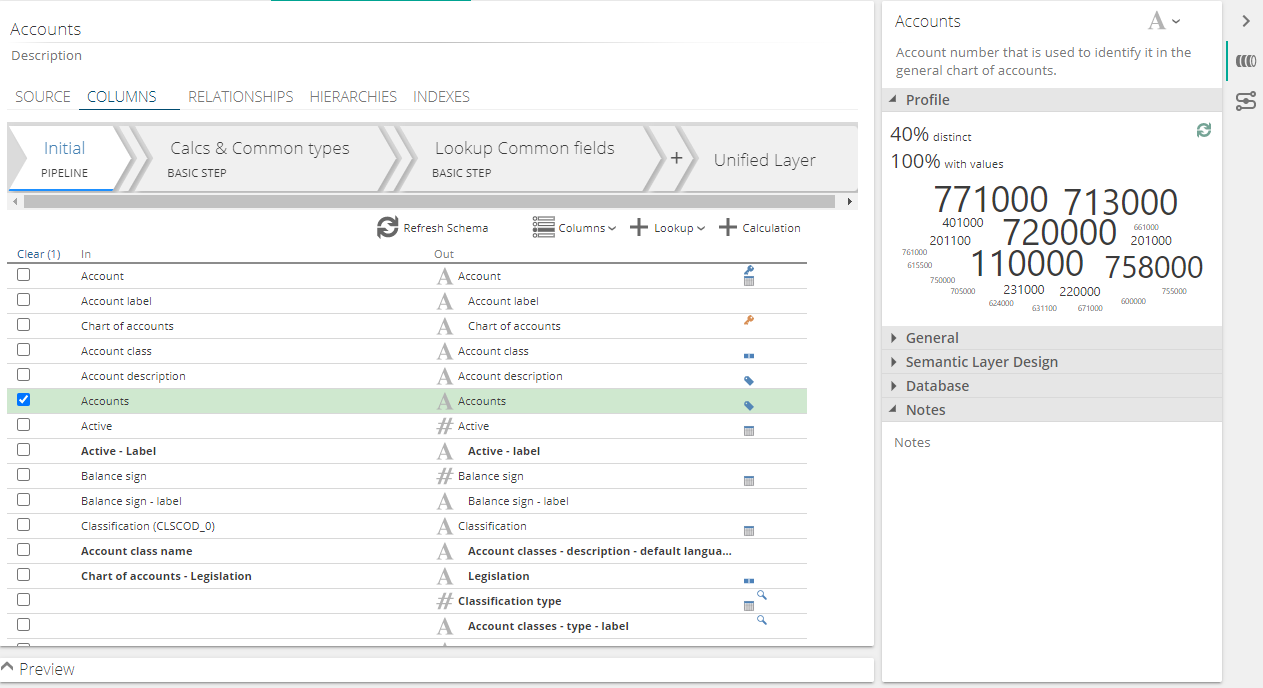
Model tab
The model tab displays model elements.
The left side of the tab lists individual model sections (e.g. data sources and pipelines).
The right side of the tab (Properties panel) allows access to the model's properties.
 |
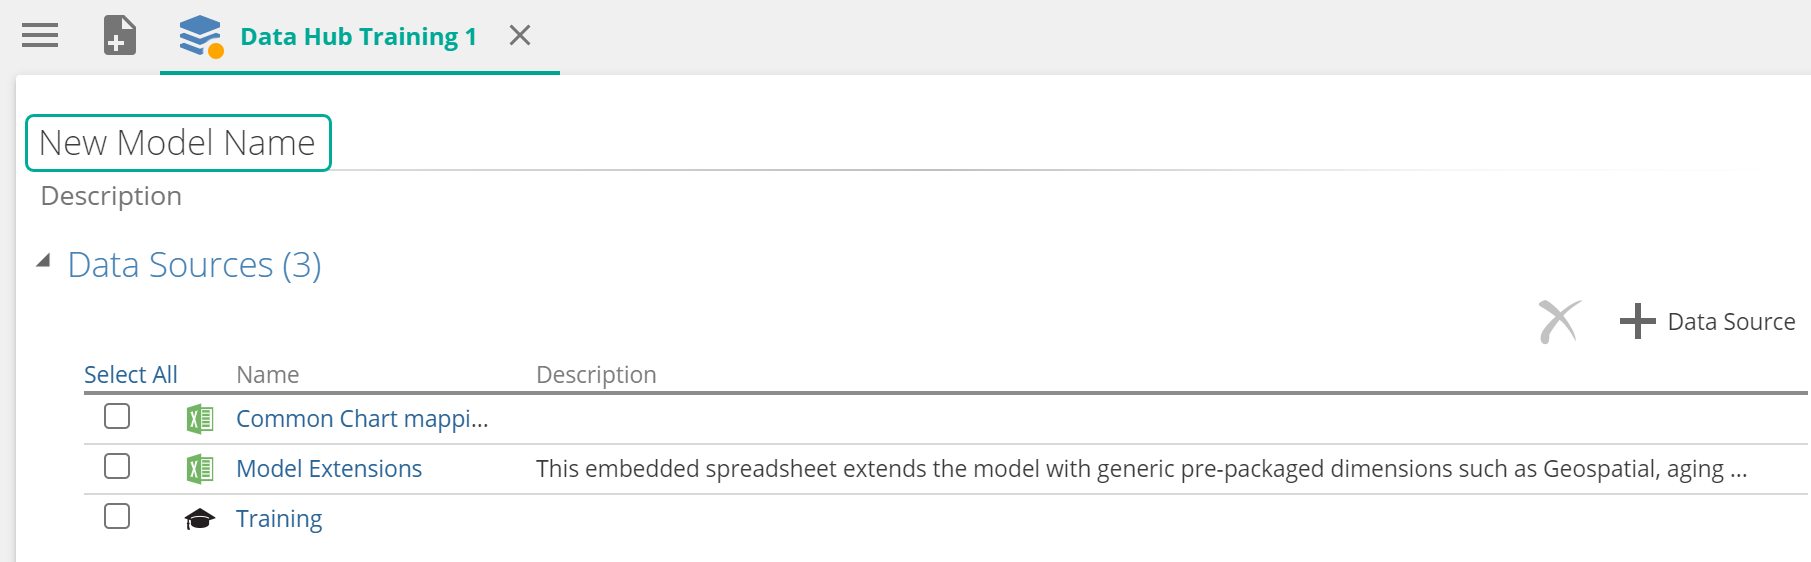
Rename a model
Rename a model by clicking the model name at the top of the model tab and typing a new name in the text box.
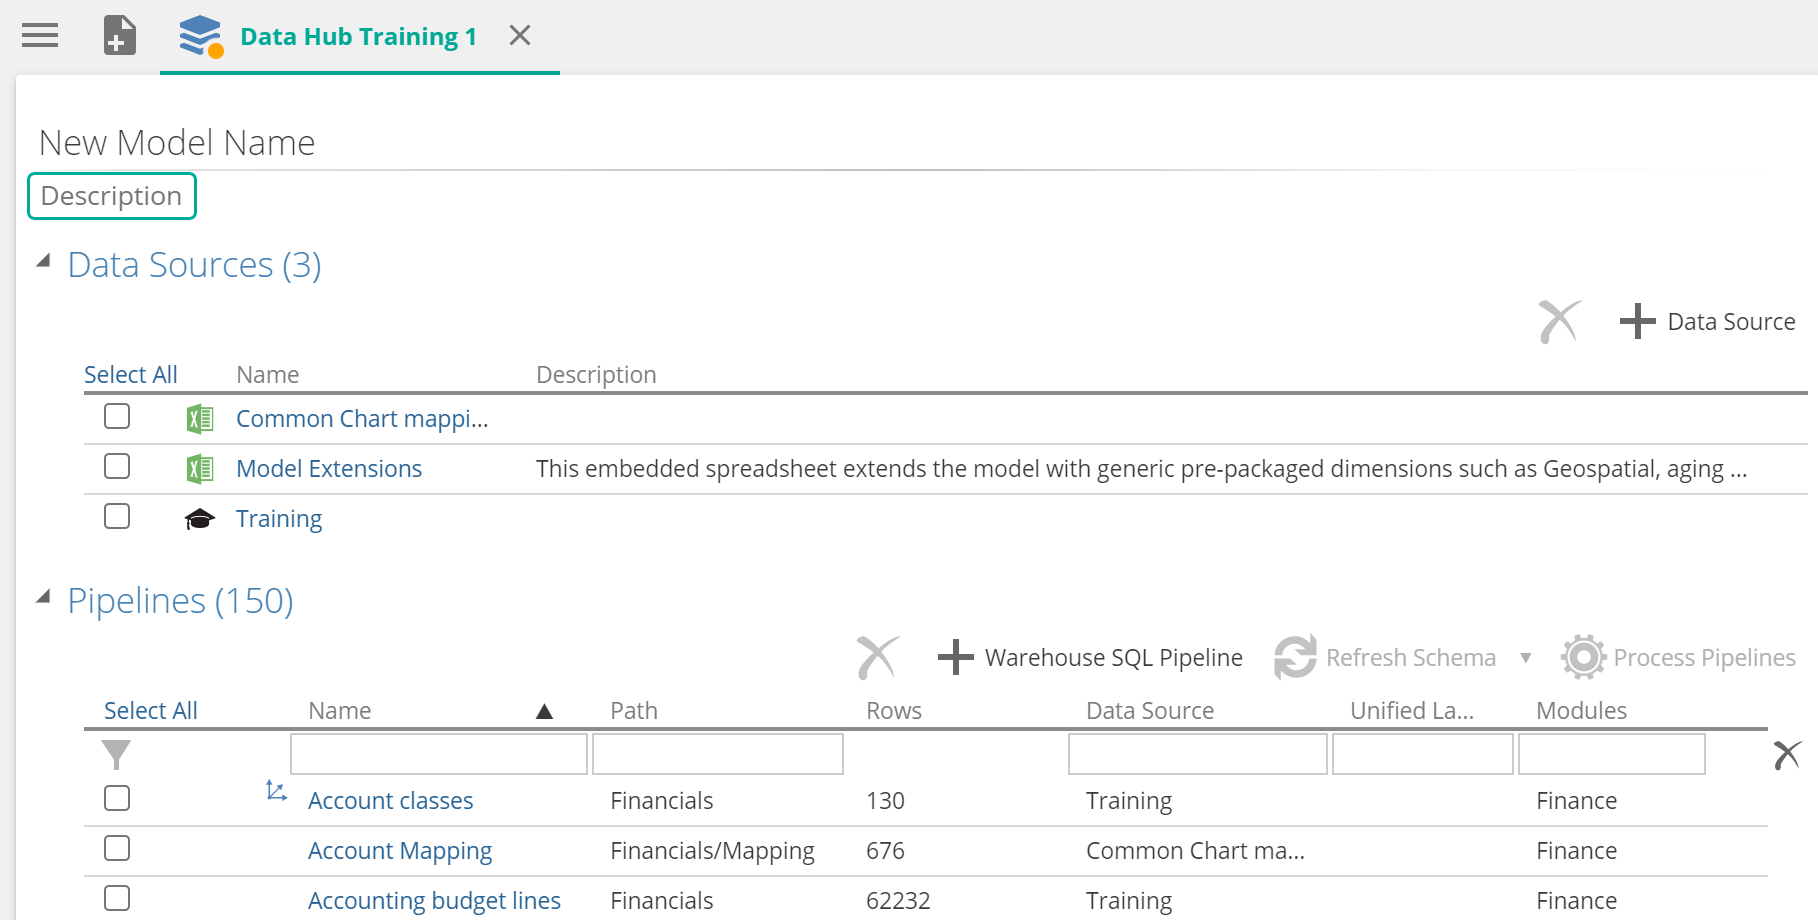
Define a model description
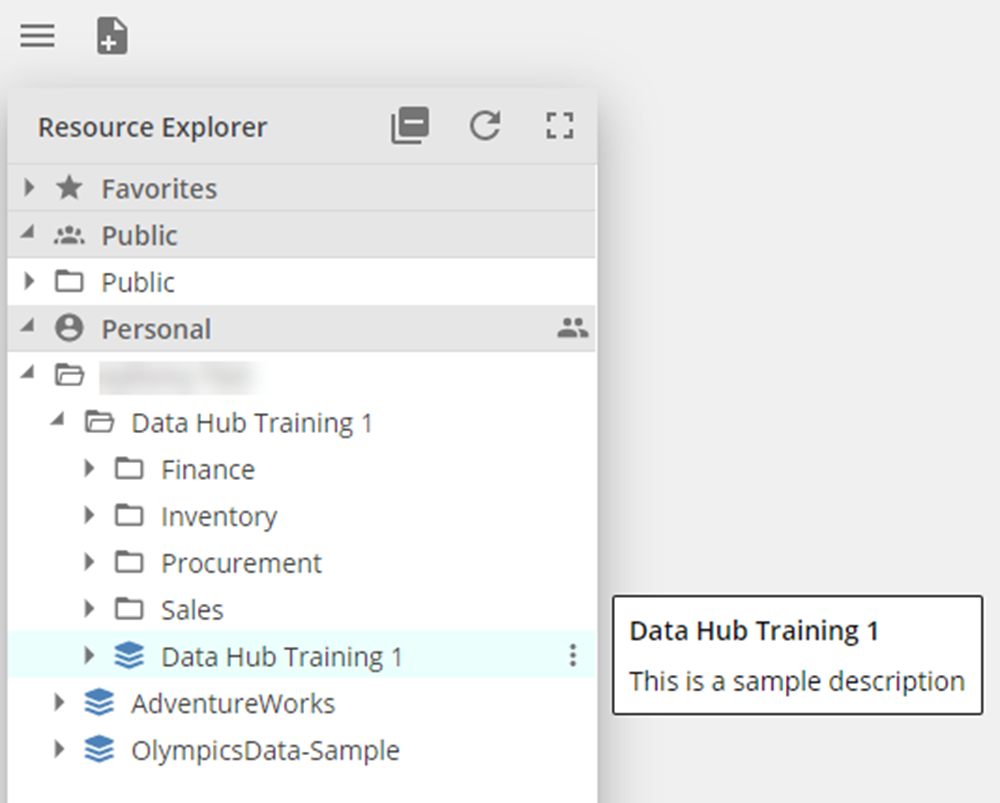
Specify a description for a model using the text box, below the model name on the model's tab.
 |
This description appears adjacent to the model's name when viewed in the model's folder.
 |
Model organization
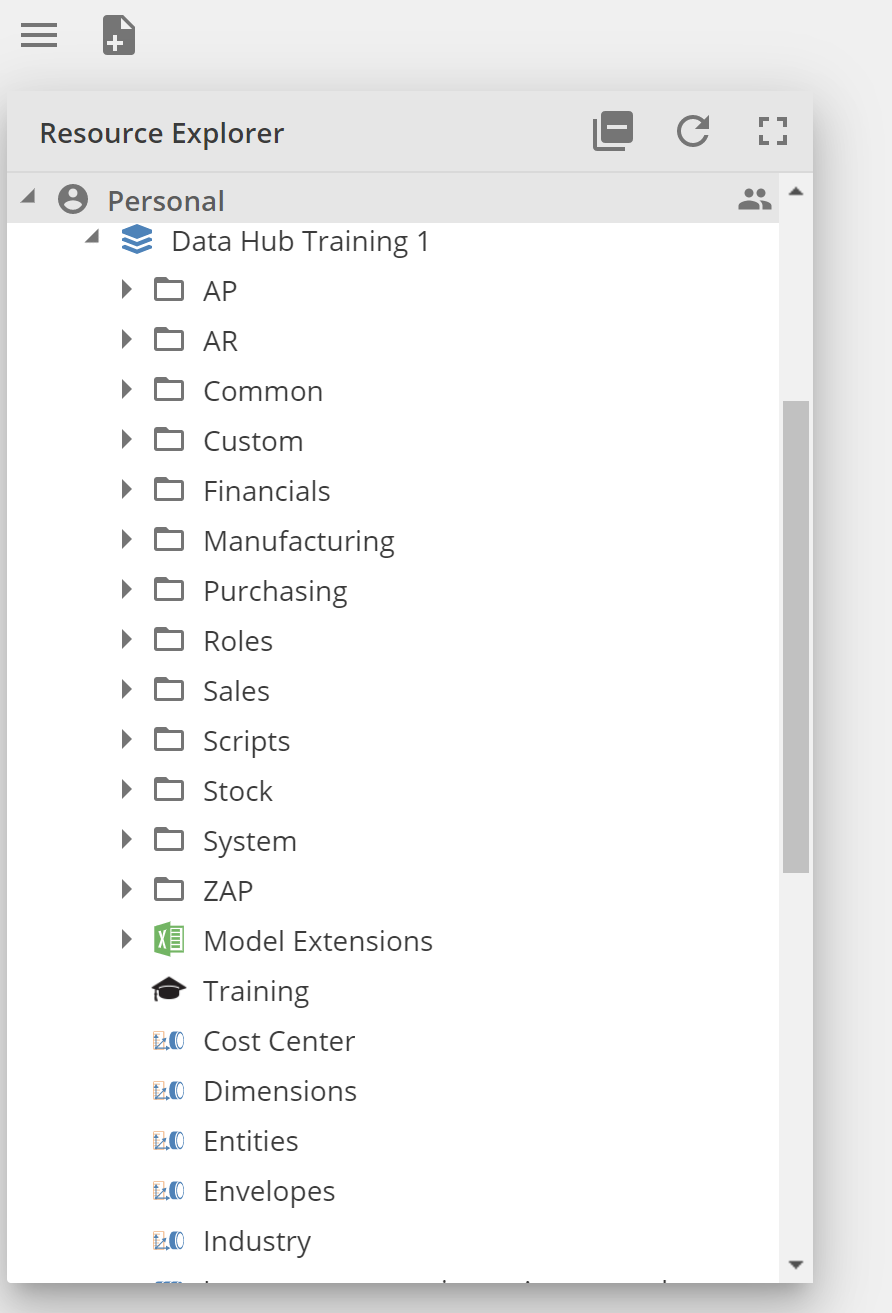
Data model nodes, displayed in the Resource Explorer, contain all the sub-resources of a data model, such as pipelines and data sources. In this regard, they behave similarly to folders in the Data Hub interface.
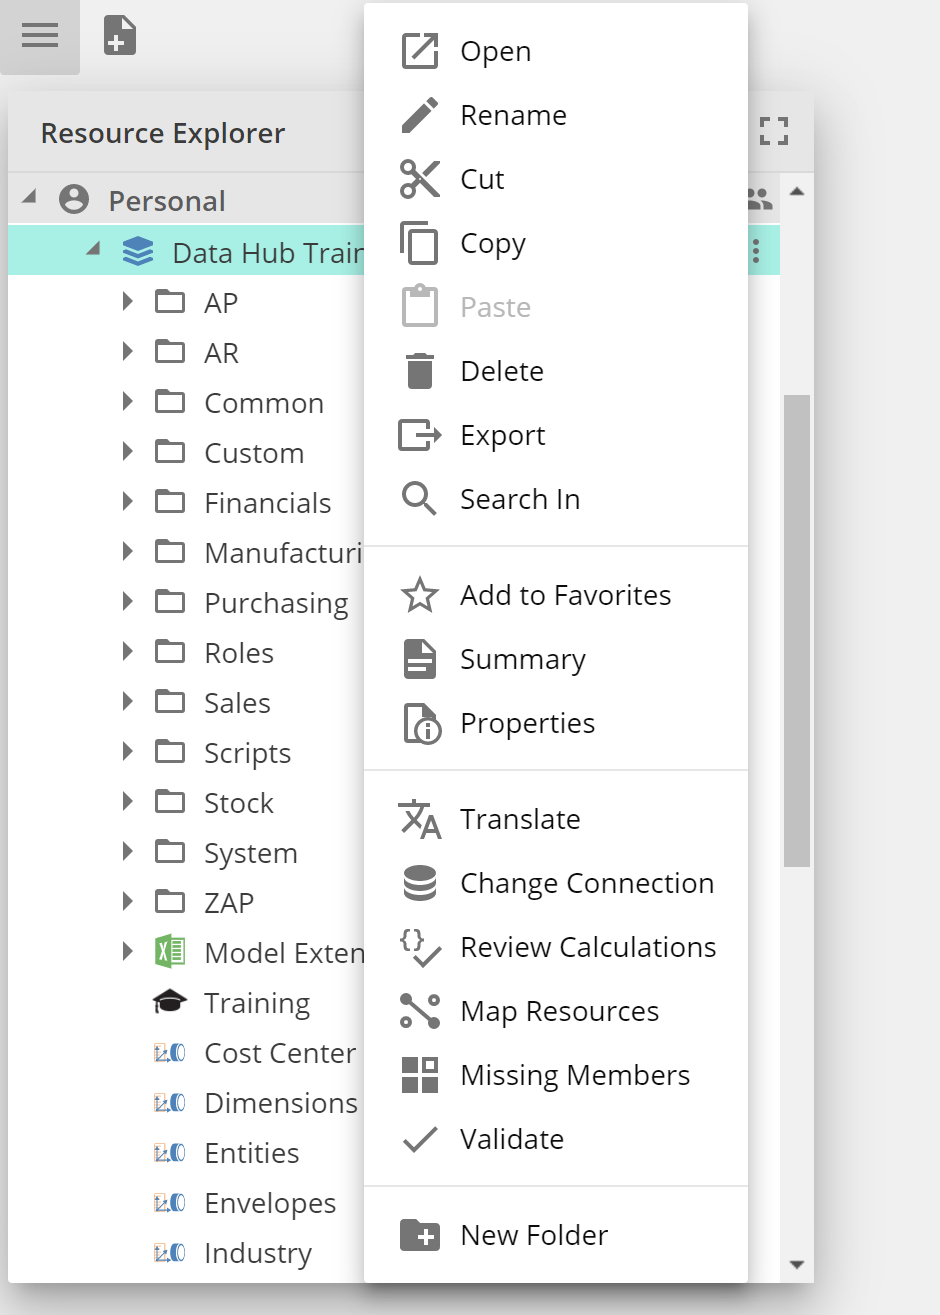
Right-click menu with options
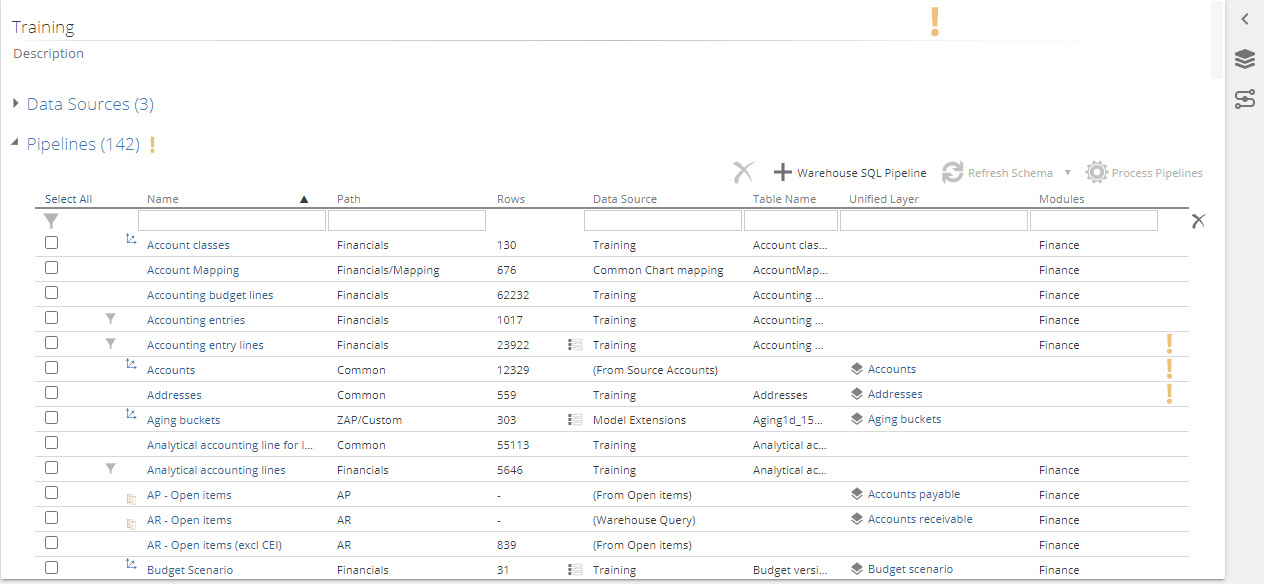
Right-click options provide the ability to create sub-folders and move sub-resources within data models. Data model nodes hold all the sub-resources of a data model (e.g. pipelines and data sources). They behave similarly to folders in this regard. For large data models, it is useful to create a more complex structure by adding sub-folders for different sub-resource types, or for different divisions of the organization, then move the data model's sub-resources to the sub-folders. This can be seen in the Training Model below.
Note
Although designed for use with data model nodes, relevant right-click options are available with all other folders and resources in Resource Explorer.
Delete
Delete buttons are displayed in various places of the Data Hub interface, to remove items within a model. Delete is quite often also available when various types of model resources are right clicked.
Delete verification and subresources
When removing resources (pipelines and data sources) from a model, a verification dialog box appears, allowing you to verify the deleting action. Removing a resource with dependent resources (subresources) will show the the deletion verification, which allows you to determine what to delete.
Note
This option only appears when the application detects that dependent resources or settings will be impacted by the removal of the selected subresource.
Delete selected: Will remove only the intended resource.
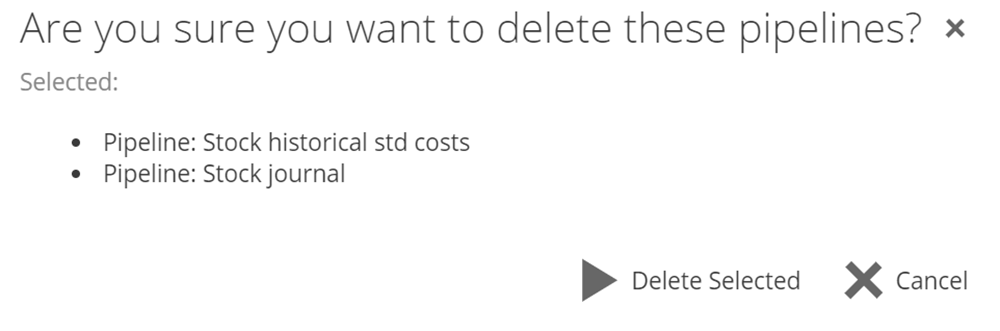
Delete & Fix: will delete the intended resources and all its dependents.
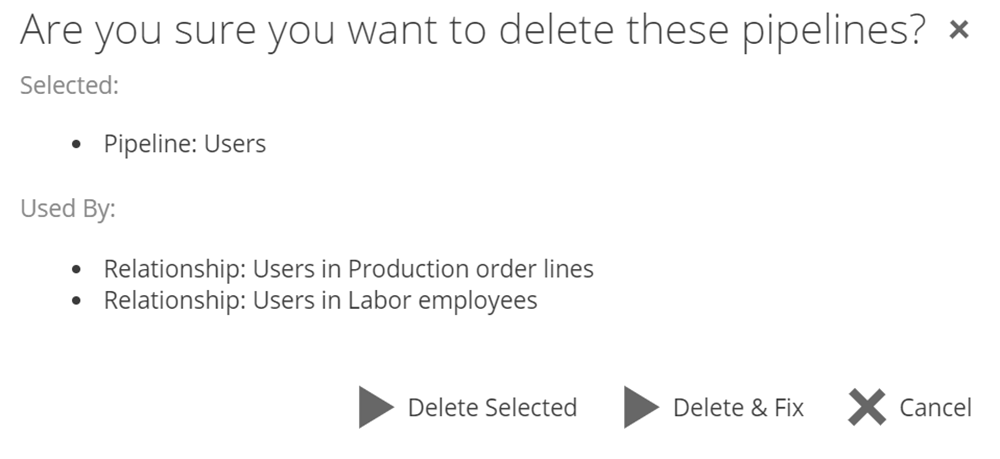
Each of the dependent pipelines or settings for the data source is shown in the Used By list, allowing you to easily see what items in your model will be removed.
Important
The Delete & Fix option only deletes the items listed in the verification dialog box. It does not impact any other items in your model.
This feature applies only to sub-resources of a model (data sources and pipelines).
The following resources or settings may be dependent on a pipeline or data source:
Warehouse pipelines
Source Table pipelines, if the deleted resource is a data source
Relationships
Lookups
Union steps
Note
If the deleted resource is a pipeline, dependent SQL-based resources, (e.g. SQL steps and warehouse SQL pipelines) are not deleted.
If you chose to not delete the dependent resources when prompted, they remain in your model, but they will display errors. You may not want to remove dependent resources if you are switching pipelines from a test data source to a production data source.
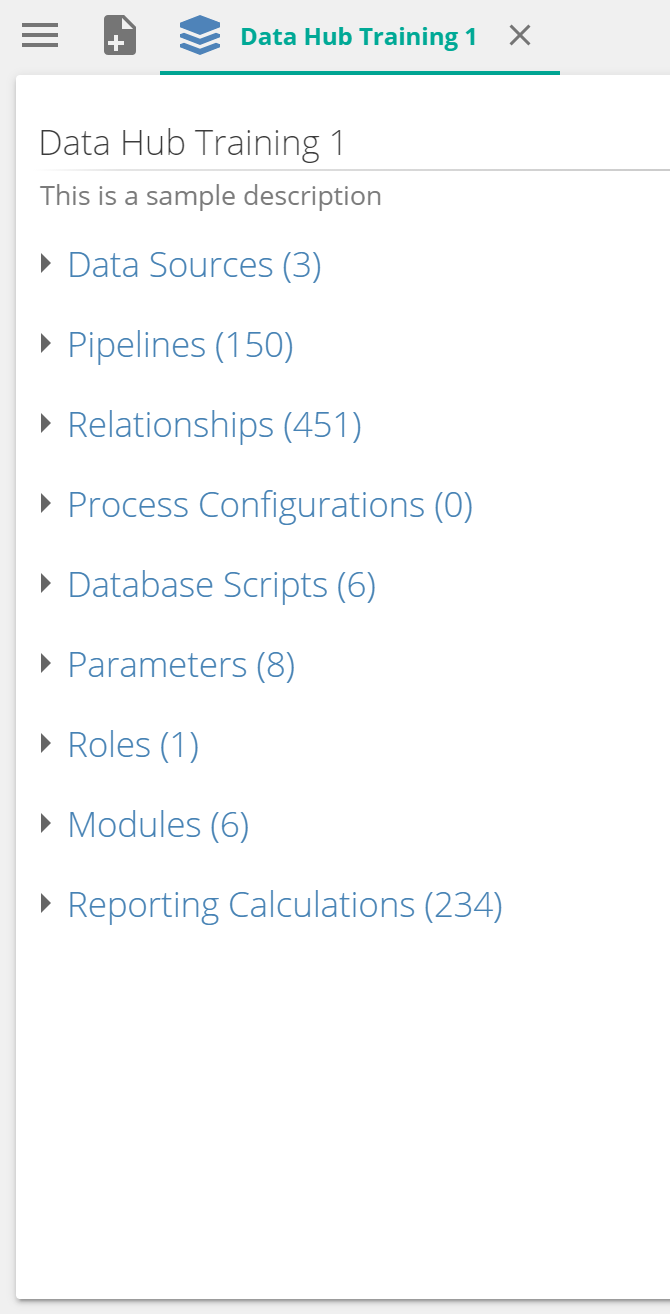
Model summary
Use the summary feature to view a condensed report (on a separate tab) containing specific data model information.
The following information is typically included in a data model summary:
Name and location of the model resource
Database name and related settings
List (and details) for major model components (e.g. data sources, pipelines, database scripts, parameters)
 |
Copy a model
You can copy a model by right clicking the model in the resource explorer or using the ellipses next to the model name.
When a model is copied, any existing schedules are automatically disabled. (Schedule check box is cleared in the schedule's Properties panel.) Once the model is processed manually, the schedule can be reactivated (by selecting the Schedule check box) and it will function normally.
A copied model also required the user to re-enter new credentials for the data source.
A copied model will also show a validation error saying that the model will try to create a warehouse that already exists. To resolve this error, either create a new name or take ownership of the previous database of the model that was copied. This action will override the previous database with any new changes.
Notes
Notes can be added to several model pipeline resources, including the pipeline source, columns, relationships and indexes.
Add notes
Add custom notes to the resources listed above using the Notes property in the Properties panel, once the resource is selected. For example, once you select a column, the properties for that column becomes available and you can add the required notes.
These notes are available to allow data model designers to describe how a particular resource (column, relationships etc.) is used in a data model, especially if that usage is not obviously clear.
 |
Working with list grids
Model lists
The left side of the model screen displays various lists, each of which shows different parts of your model (e.g. data sources, pipelines, and relationships).
The number of items in each list is displayed to the right of each list's heading (as highlighted below). This feature allows you to see if any entries are present, and how many entries, without having to expand each list.
Note
The number of items in the Relationships list is only displayed after the list has been expanded for the first time. After this initial expansion, the number remains visible even if the list is collapsed again.
Selection of one or more items within a section:
Multiselect: Check the checkbox on the left to select it.
Single select: Click anywhere on the item row which will change the background color and check the check box.
Clear Selection: Click on Clear in the header row to clear all selections
Select All: Click on Select All to select all items at once
Modules and Parameters provide a list that you interact with in the list form. All other sections, provide a list of items which can each be opened individually.
To open an item to work with:
Hover over the name column of the particular item, and a link will appear. Click the link.
Working with SQL fields
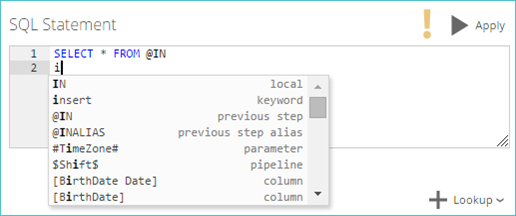
IntelliSense-style code completion
When typing an entry into an expression builder window for calculated columns and SQL steps, code completion is available. As you type, a list of possible entries appears, allowing you to select any entry that contains your typed text.
The following types of entries are included in the list:
Previously used entries in the current expression
Names of pipelines in the current model
Names of columns in the current pipeline
Parameters in the current model
SQL keywords
Placeholders that refer to the previous step's results, (@IN and @INALIAS)
These lists appear in the following two locations within the data model interface:
Calculated column. In the expression builder section on the Properties panel.
SQL step. In the SQL Statement expression builder panel.
Simple character matches are displayed (as in the example below, where the letter i has been typed).
In addition, based on the syntax used for various entries, you can type specific characters to see a list of specific items.
A list of available model pipelines is displayed when a $ (dollar sign) is typed.
 |
A list of available parameters, as defined in the model tab's Parameters list, is displayed when a # (pound sign) is typed.
 |
A list of placeholders referring to the result of the previous step appears when a @ (ampersand) is typed.
A list of columns in the current pipeline appears when a [ (left square bracket) is typed.
The feature may also be operated using the keyboard:
If nothing has been typed into the expression builder, or space has been typed after a previous entry, pressing CTRL-SPACE will display the entry list with all possible entries available.
If you have moved the cursor using the arrow keys, pressing CTRL-SPACE will redisplay the entry list using the characters in the current entry to the left of the cursor as a filter.
If an entry list is displayed, pressing TAB twice will insert the first entry in the list.
If an entry list is displayed, pressing the DOWN ARROW key lets you select an item in the list. Pressing TAB or ENTER inserts the highlighted entry.