Create a model from a data source
Note
Excel will be used as a data source in the displayed example.
Create a new data model
Click New resource > Connect to my data.
Select source
On the Select Source tab, click the source you want to connect to. Click CONNECT.
From the Connect screen, specify the connection details.
Click Upload file.
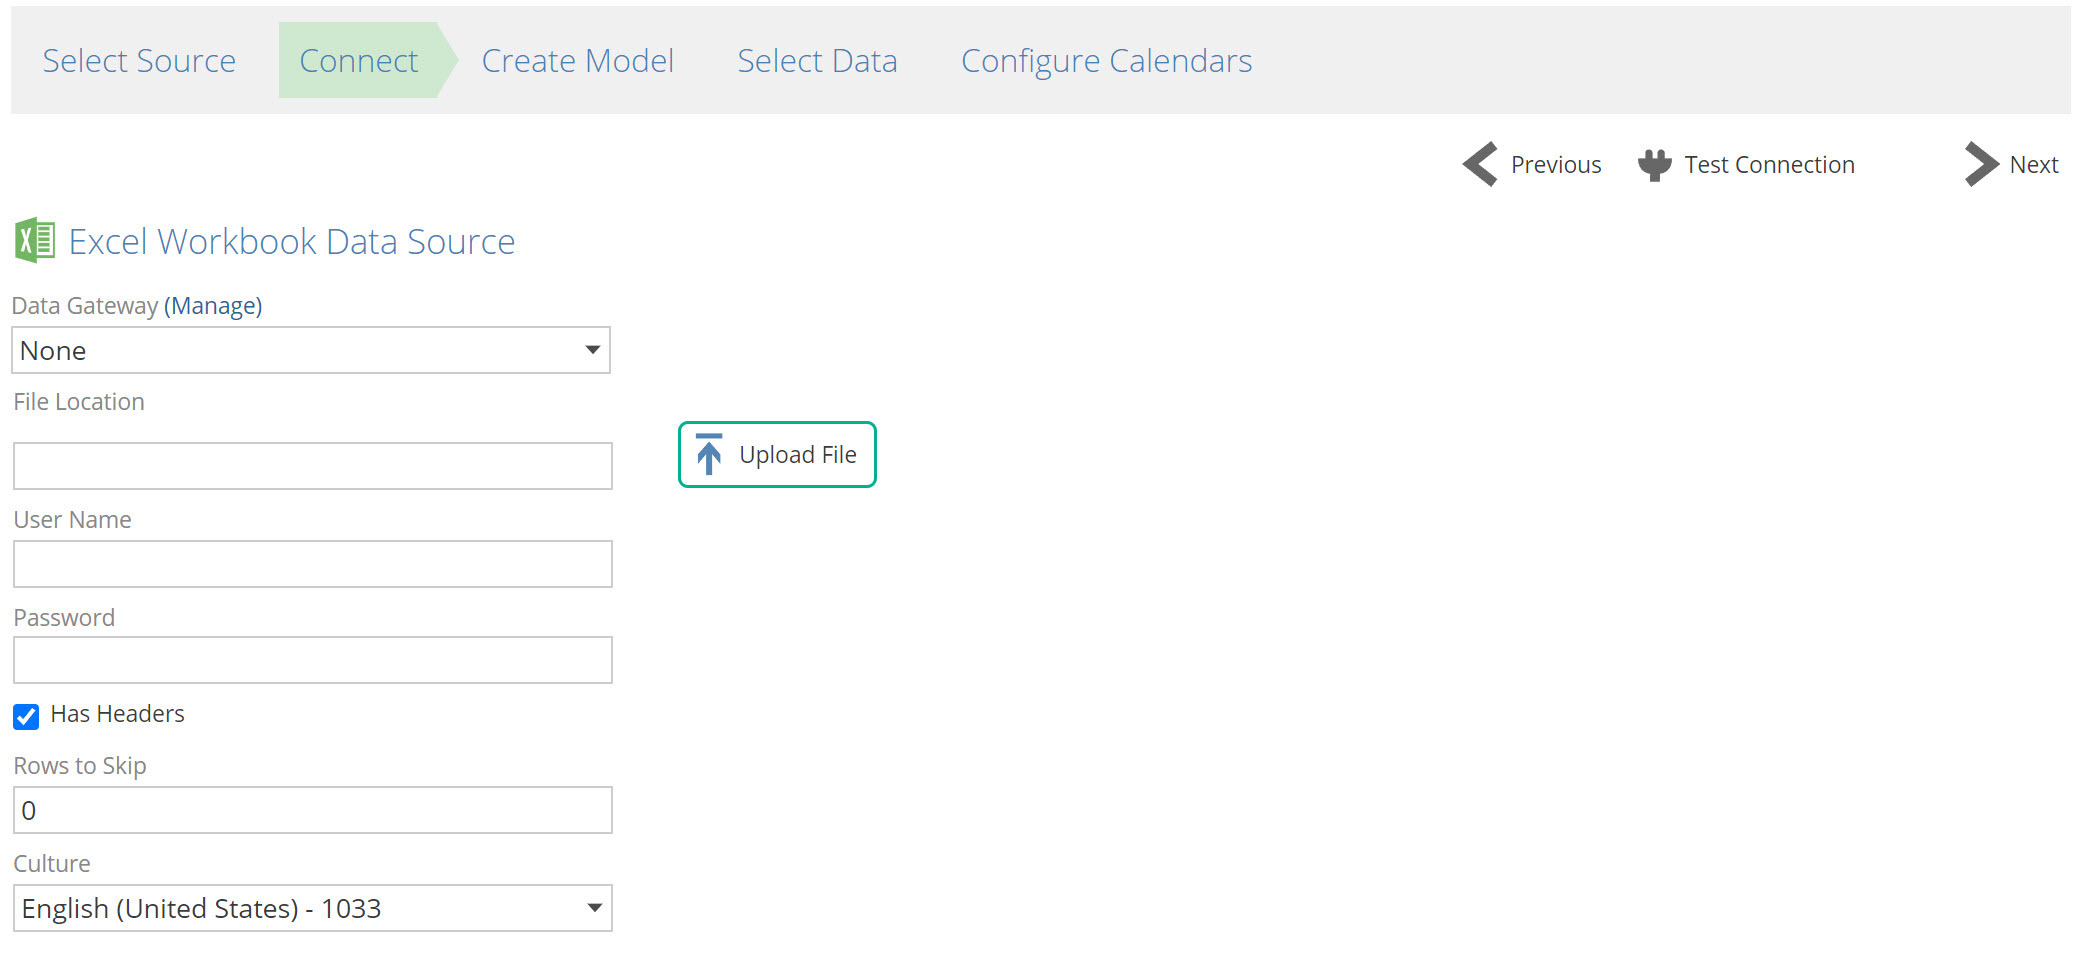
Connect
Leave Data Gateway drop-down item as None unless connecting to an on-premise data source.
Select Upload File and follow the prompts.
Click Test Connection.
Click Next.
Helpful Links
Create model
Change your Model Name if required.
Select the Model Server from the drop-down.
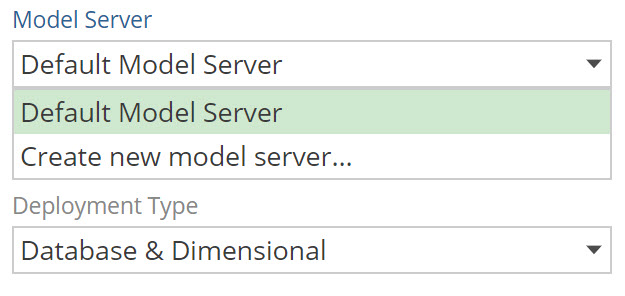
Change the Model Database Name if required.
Use the Deployment Type as displayed in the drop-down.
Click Create Model.
Click Next.
Helpful links
Select Data
To add tables from the data source to the Data Model:
Select tables to be added as pipelines using the check box column.
To add the pipelines to the data model, there are two options:
Use Add Pipelines to add tables as individual pipelines.
Use the Add Pipeline as Union of Tables option from the Add Pipelines drop-down menu, to add a single pipeline created from a union of the selected tables.
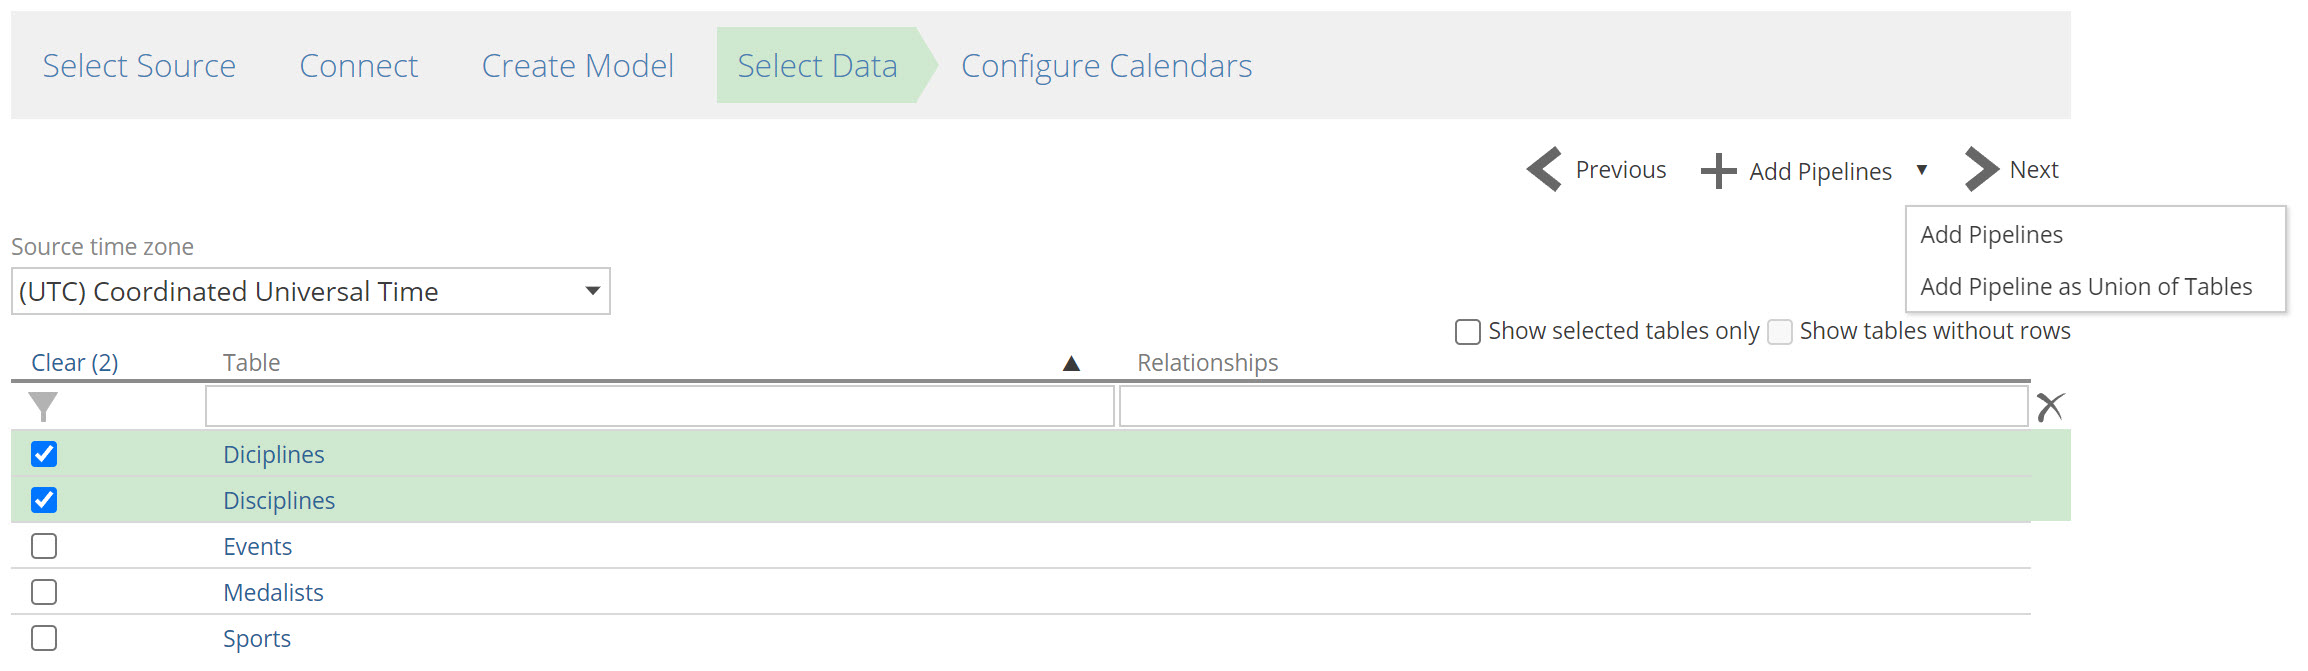
Click Next.
Configure calendars
Change the First Day and Last Day if required.
Select the Date Format from the drop-down.
Calendars are automatically created.
Click Finish.
Process the model
On the design panel, click Process Model and change settings as required.
Click Process.
Processing progress will be displayed in the status pane.