Configure a Power BI App
Overview
ZAP has packaged a set Power BI analytics for Unified data models. That is, data models that are Unified Layer-enabled (created from ZAP Data Hub SaaS or on-premises v9 and later).
Power BI Apps are packaged by ZAP and are available on Microsoft AppSource

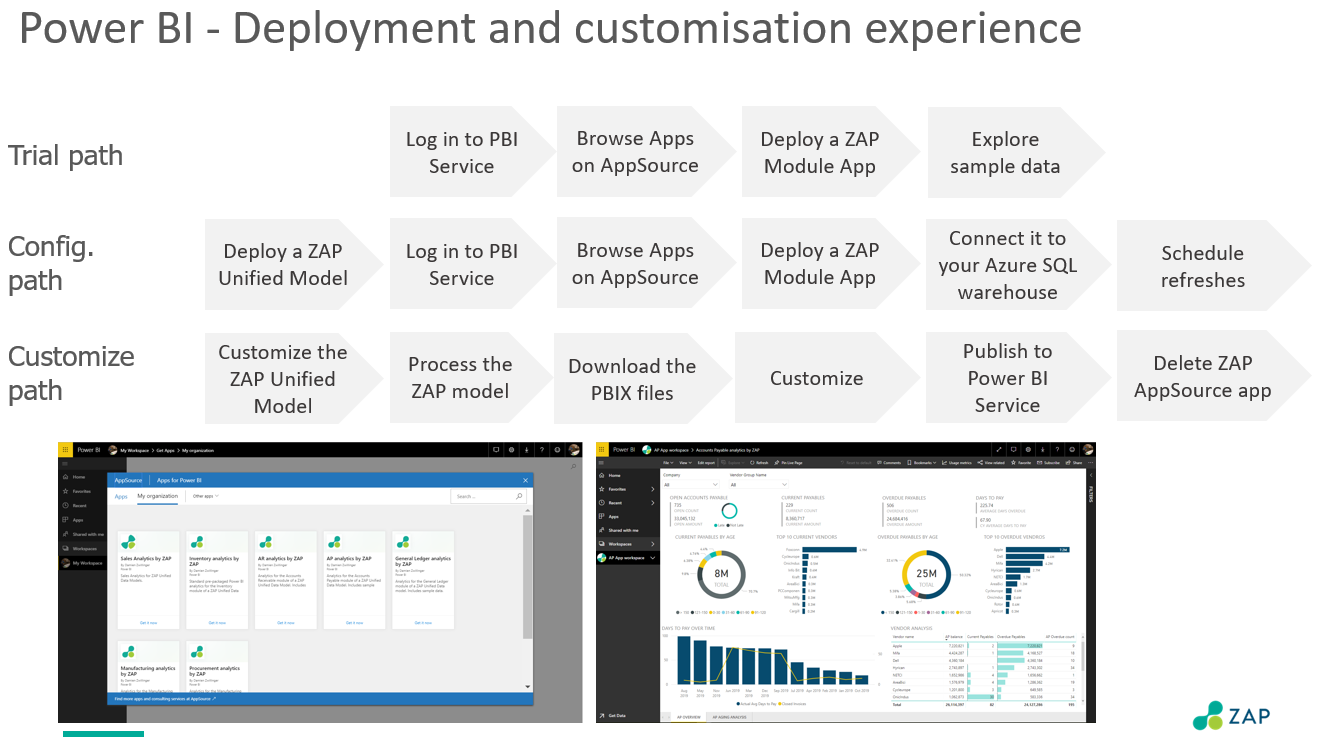
There are several pathways for deploying the ZAP Power BI Apps. Apps are free of charge and come with sample data, and can therefore by trialed. While the Trial pathway only consists of installing the Apps, the below configuration step-by-step guide for Apps applies both the Trial and Config pathways. The Customize pathway involves sourcing the PBIX files from ZAP HelpDesk and doesn't require installing the Apps.
 |
Power BI App Configuration
Click Microsoft AppSource to deploy the Power BI analytics. You will need to sign-in to your organization's Power BI;
Click Get it now to deploy the App
You will then be required to fill in a contact form
please also make sure you review ZAP's Privacy Policy and Terms
Click Install, and once installed click the App tile or list item. This will open reports with the sample data.
Choose whether to explore sample data or connect to your own data.
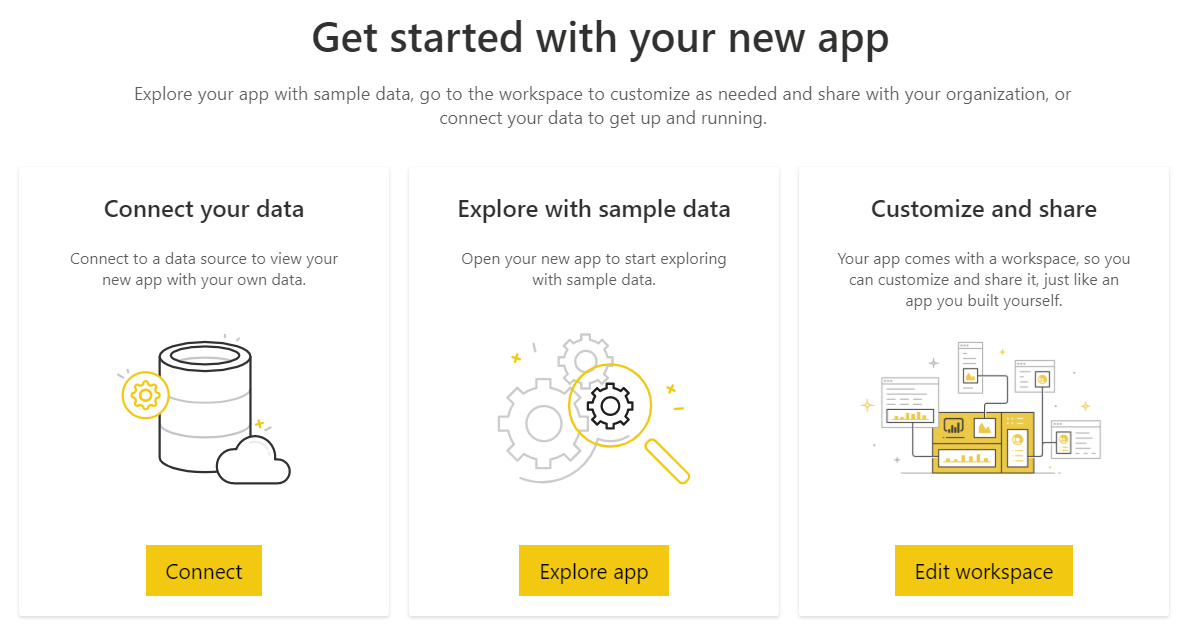
To trial the App with embedded sample data, click the Explore app button.
Note
The Trial pathway ends on this step.
You can trial the App first, before connecting it to your data; you will always be able to configure the App's connection to your data.
To connect the App to your Unified Data Model, click the Connect button
Connect to the App you chose (General Ledger analytics by ZAP in this case) with the following values:
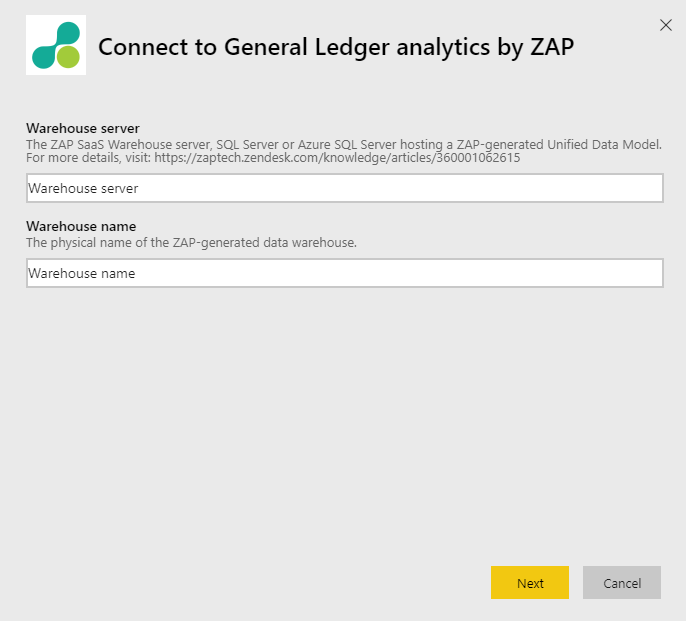
Replace the value of the Warehouse server to the appropriate Server name (found in your model's Connection pane in Data Hub). Read more about Model warehouse connections
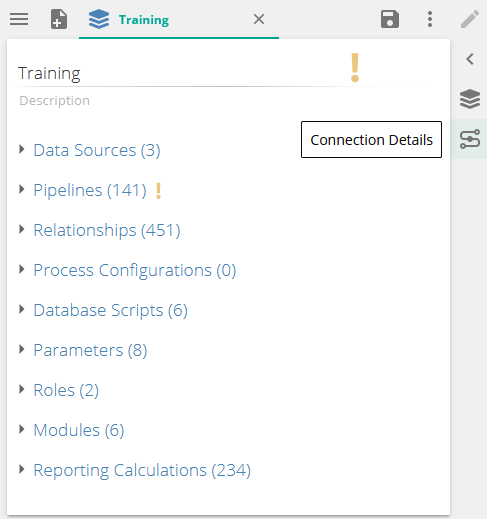
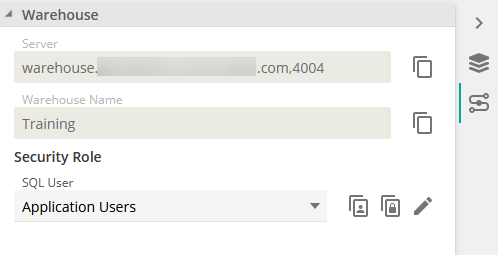
Update the value of the Warehouse name to the physical database name found in the same place
The click the Next button
Specify the Server authentication credentials in the next screen
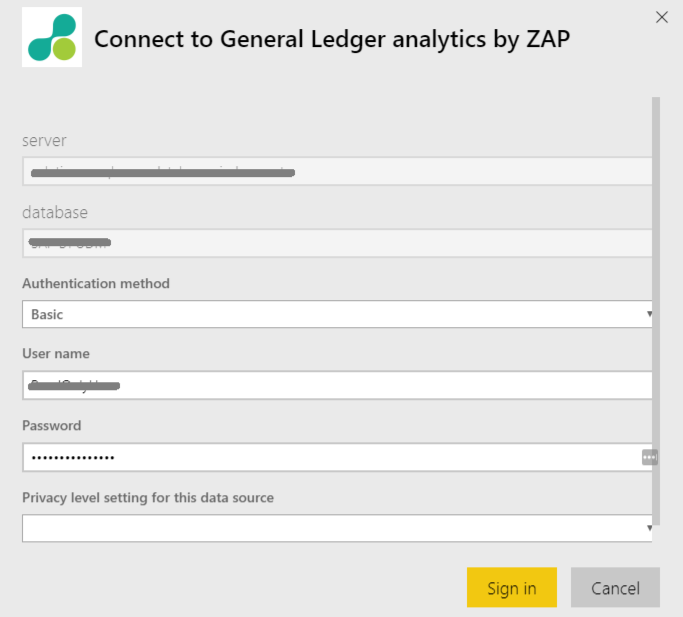
Authentication: Select Basic
Enter a valid Username and password. This is found in the same location as the server details above: on the Connection panel of your model in Data Hub. You can copy the username and password by using the buttons to the right of the SQL User field.
Click Sign in.
Note
The dataset will automatically refresh. Depending on the column of data in your ZAP Unified Data Model, this might take some time.
Navigate to the Reports tab, and open the report to browse ZAP's dashboards:
Note
If the Report was open prior to processing the data set, you may have to click the Refresh button to see your new data.
Review User Access to the App workspace
Repeat steps 1-11 for every other App you choose.
Note
Consider creating scheduled refreshes for your Apps
ZAP also makes the PBIX files of those Power BI Apps available for customizing data sets. Please contact Zap support through the HelpDesk to request access.
Every App and PBIX file includes sample data by default
Reports can be edited directly in the Power BI service workspace.