Jira
Requirements:
Data Hub v9.0 or later
Atlassian user account
Atlassian Jira Cloud Site
Add the Jira data source
A Jira data source can be added to a new or existing Data Model. To add Jira to a new data model, follow the process described in Create a Model from a Data Source.
Add a Jira data source to an existing data model
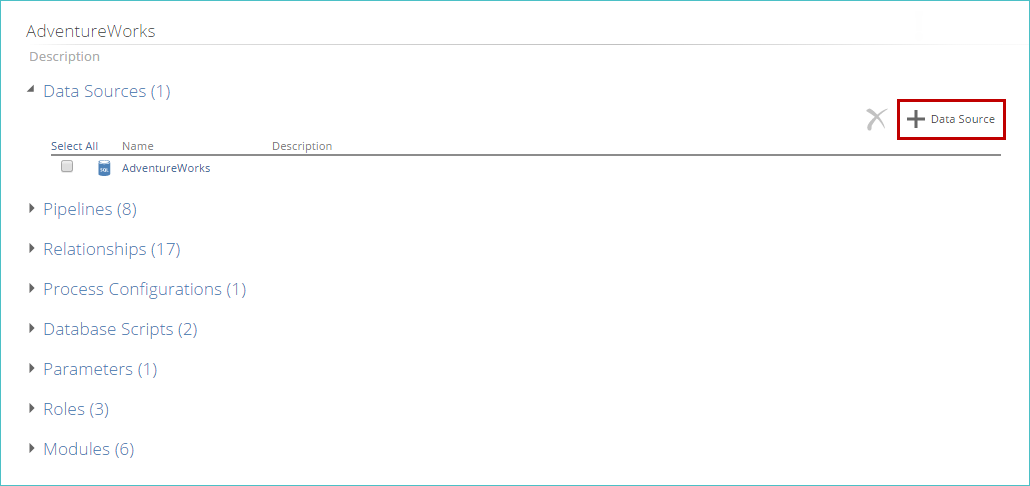
Open an existing Data Model from RESOURCE EXPLORER.
Expand Data Sources.
Click Add Data Source.
 |
Select source
In the Select Source step:
Under the Apps (API) section, select Jira.
From the source type pop-up, click Connect on the Jira entry tagged Data Source.
Connect
To set up the connection between Data Hub and Jira:
Complete the following fields:
Username
Enter the email of an administrative user for the Jira Cloud instance.
API token
Create an API token using the Username provided and paste the token into this field. (For details, refer to Atlassian Cloud Support: API Tokens - Create an API token.)
URL
Enter the URL of the target Jira Cloud instance, for example https://my-jira-site.atlassian.net
Click Test Connection to verify that Data Hub can connect to the Jira database with the credentials provided.
Click Next to continue to the Select Data step.
Select data
To add tables from the Jira database to the Data Model:
Select tables to be added as pipelines using the check box column.
To add the pipelines to the data model, there are three options:
Use Add Pipelines to add tables as individual pipelines.
Select Add Pipeline as Union of Tables option from Add Pipelines drop-down, to add a single pipeline created from a union of the selected tables.
Note
If all the tables in the data source are selected, the pipeline will always perform a union on all tables from the data source, even if the table list changes. For example, if the data source contains only tables of sales for the USA, UK, and Europe, selecting them all will union the three tables into a single pipeline. If a fourth table with sales for Australia is later added, it will automatically be included in the union for the pipeline.
Click Finish to add tables as individual pipelines and finish adding the Jira data source.
If Finish was not used to add pipelines, click Finish to complete adding the Jira data source.
Select data screen
The Select Data screen displays the following:
Select All/Clear
If no table checkboxes are currently selected, Select All can be used to select all of the tables in the source database.
If one or more table checkboxes are selected, Clear (x) can be used to clear all the selected tables.
Show selected tables only
Hides all tables where the check box column is currently cleared (not selected).
Show tables without rows
When selected, this item shows all source tables, including tables that do not contain data.
Add pipelines
Select Add Pipelines to add all selected tables to the data model as individual pipelines. The Add Pipelines drop-down provides two options:
Add Pipelines: The same function as the Add Pipelines button.
Add Pipeline as Union of Tables: Creates a single pipeline from the union of the selected tables from this data source.
Note
If all of the tables in the data source are selected, the pipeline will always perform a union on all tables from the data source, even if the table list changes.
For example, if the data source contains only tables of sales for the USA, UK, and Europe, selecting them all will union the three tables into a single pipeline. If a fourth table with sales for Australia is later added, it will automatically be included in the union for the pipeline.
Finish
Adds the selected tables as individual pipelines and finalizes adding the Jira data source. Once the request has been processed, Data Hub opens the Data Model Overview.
Filter row
The first row of the Select Data table is the filter row. Use the fields to filter rows based on the column contents. To clear all filters entered, either delete the entered text or use the Clear filter icon at the end of the row.
Select Data step table
A table showing the tables present in the data source. Described below.
Select data table columns
The Jira Select Data table contains the following columns:
Check box column
Select to create a pipeline for this source table.
Table The database table name.
Relationships Shows source tables that share a relationship with the current table. These relationships join the tables, allowing for easier report building.