Dynamics 365 Sales
Supported versions of D365 Sales (formerly known as CRM)
On Premise versions:
2011
2013
2015
2016
A Cloud data source connection to D365 Sales
Connect to the data source
The following connection settings need to be defined for a Microsoft CRM-based data source:
Url. The URL of the CRM instance.
Authentication
User authentication
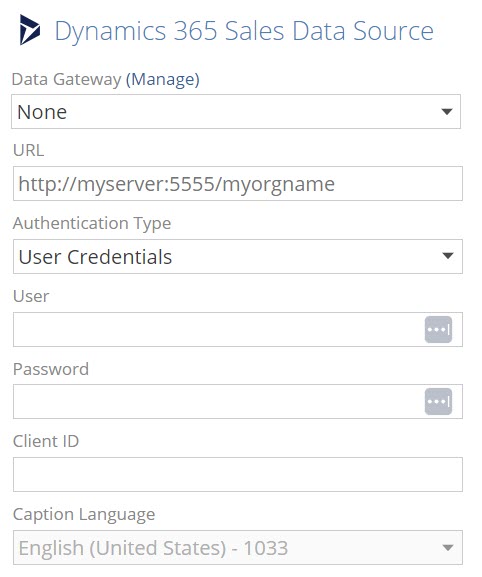
User. The user name required to access the specified CRM instance.
Password. The password for the specified user name.
ClientID. The ClientID from the Azure Active Directory App Registration the use is associated with. How to Register a new User Authentication App in Azure
Application Service authentication

ClientID. The ClientID from the Azure Active Directory App Registration. How to register a new Application Service App in zure
Caption language. Select the language that will be used for the CRM captions.
Metadata in CRM data sources
When connecting to a CRM data source, basic metadata (including relationships, option sets, and captions) is read from the CRM web service and included in the corresponding data model.
CRM option sets
Option Sets in Microsoft CRM are used to store enumerated lists of values that a user chooses from when entering information into a field. For example, an "Order Status" field might have an option set containing "New", "Processed", "Shipped" and "Delivered". An option set may appear in CRM as a drop-down list, checkboxes, or option buttons.
The model creation wizard uses the CRM web service to gather all the option set information used in CRM and then imports it into the model as a pipeline. Other pipelines that have columns based on option sets will have a relationship created to the options set pipeline, and lookup columns for each option set-based column added so that the option set values can be used in the cube.
Previously, only the internally-used numeric values that mapped to the option set entries were available.
CRM connection and incremental loading
CRM supports the incremental loading of all tables. However, in CRM, when you delete a record, its DeletionStateCode flag is set to '2'. An asynchronous service periodically sweeps the CRM database (default is every 24 hours) and deletes all marked records, meaning that:
Any scheduled process configurations should be scheduled to run just before the CRM service that deletes old data (so that Data Hub can flag the deleted rows appropriately in the warehouse before they're deleted from the source tables).
A process configuration should be scheduled to do a full load of the data on a periodic basis to remove deleted records and keep the database size as small as possible.
For more related information about CRM, refer to the following:
http://msdn.microsoft.com/en-us/library/cc151246.aspx
http://social.microsoft.com/Forums/en-US/crm/thread/7dcb9470-926c-4870-a4c2-2e40737be67b
User Authentication - App Registration in Azure Active Directory
To connect to D365 Sales, a new application registration needs to be created in the Azure directory.
In the Azure portal go to the Azure Active Directory container.
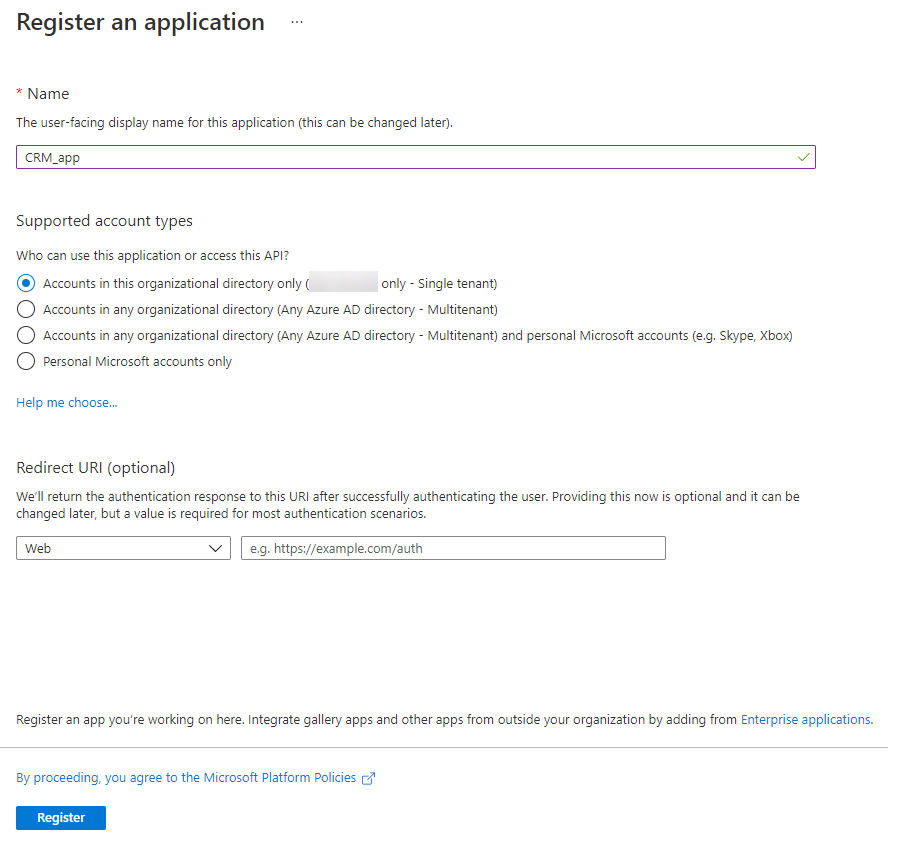
Select App registrations and then + New Registration

Give the new App a name and accept default settings
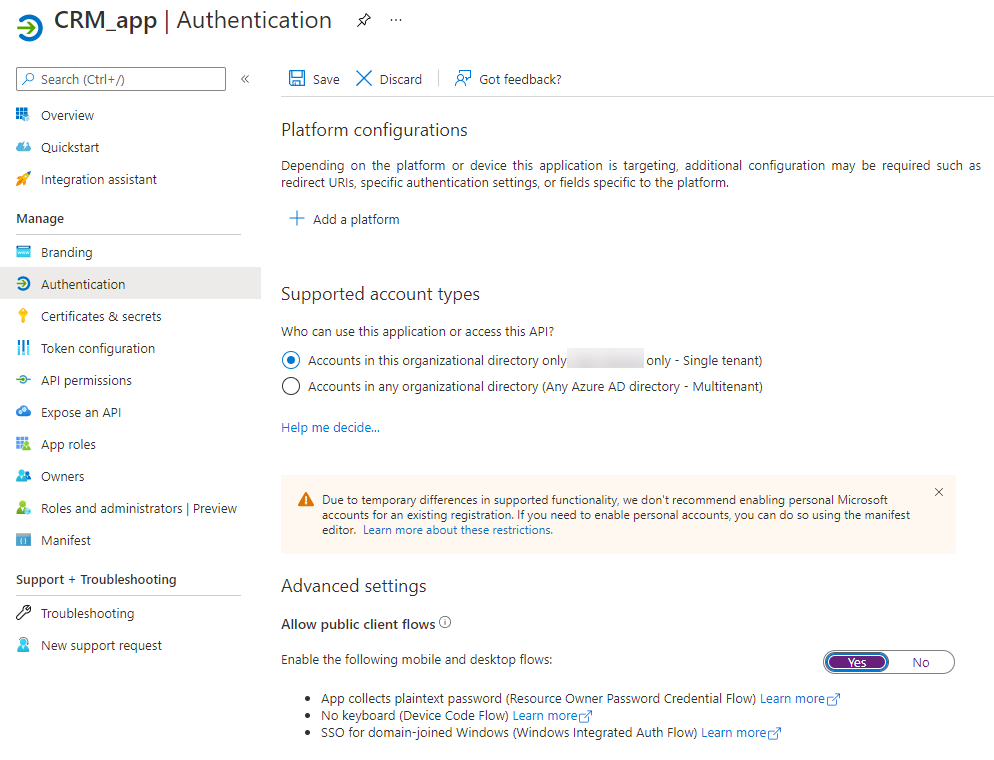
On the Authentication node of the App ensure Allow public client flows is enabled
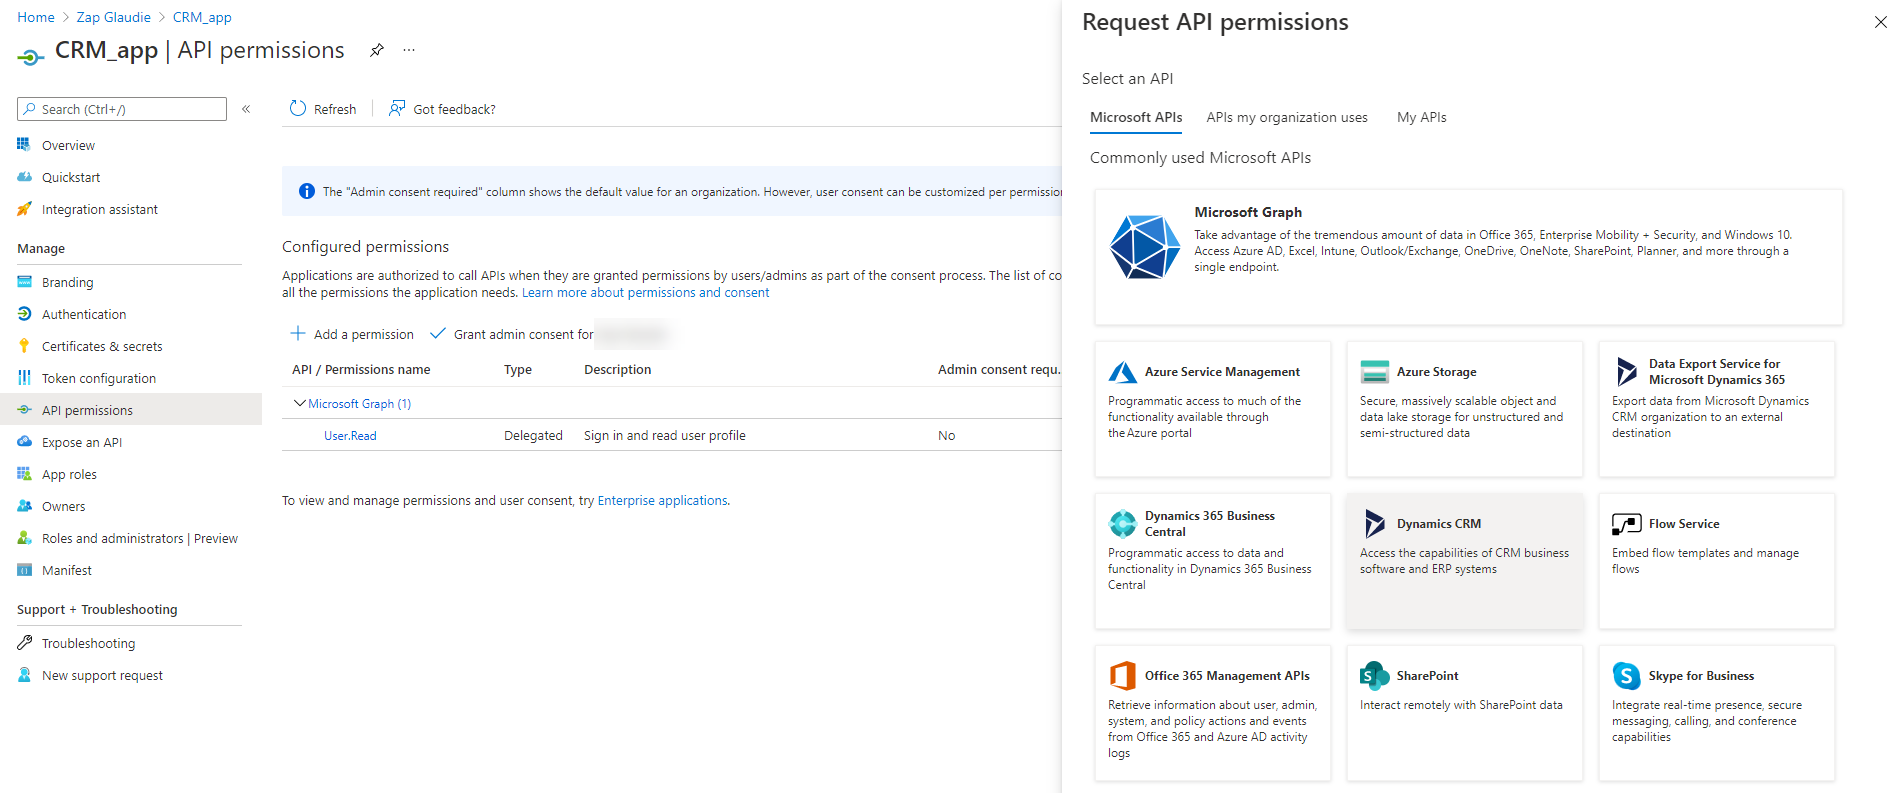
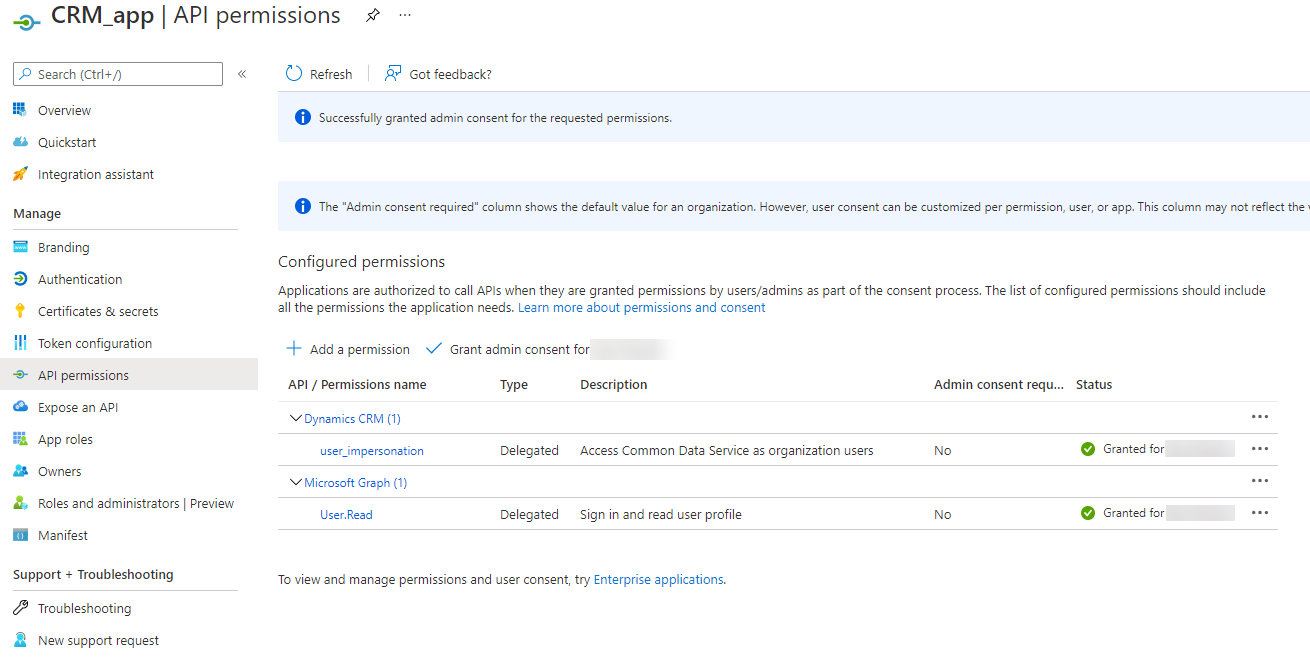
On the API Permissions node of the App, add Dynamics CRM permission user_impersonation and Grant Admin Consent to allow users connecting through the app
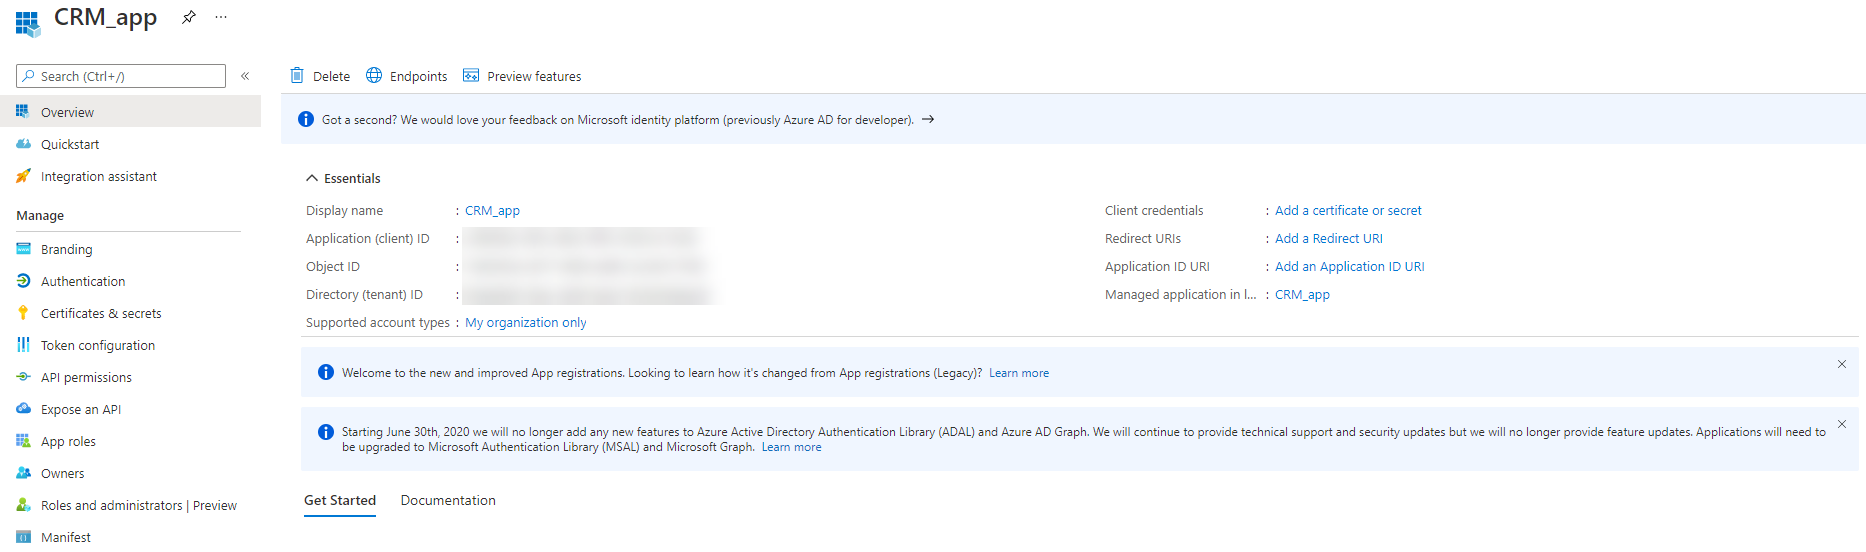
Copy the Application (Client) ID and use it on the data source screen in the Client ID field
Application Service Authentication - App Registration in Azure Active Directory
To connect to D365 Sales using service credentials, you require a new application registration in the Azure directory.
In the Azure portal go to the Azure Active Directory container.
Select App registrations and then + New Registration
Give the new App a name and accept default settings
On the Authentication node of the App ensure Allow public client flows is enabled
On the API Permissions node of the App, add Dynamics CRM permission user_impersonation and Grant Admin Consent to allow users connecting through the app
Copy the Application (Client) ID and use it on the data source screen in the Client ID field