Data Hub interface elements
Interface elements provide the ability to manipulate and work with Data Hub resources.
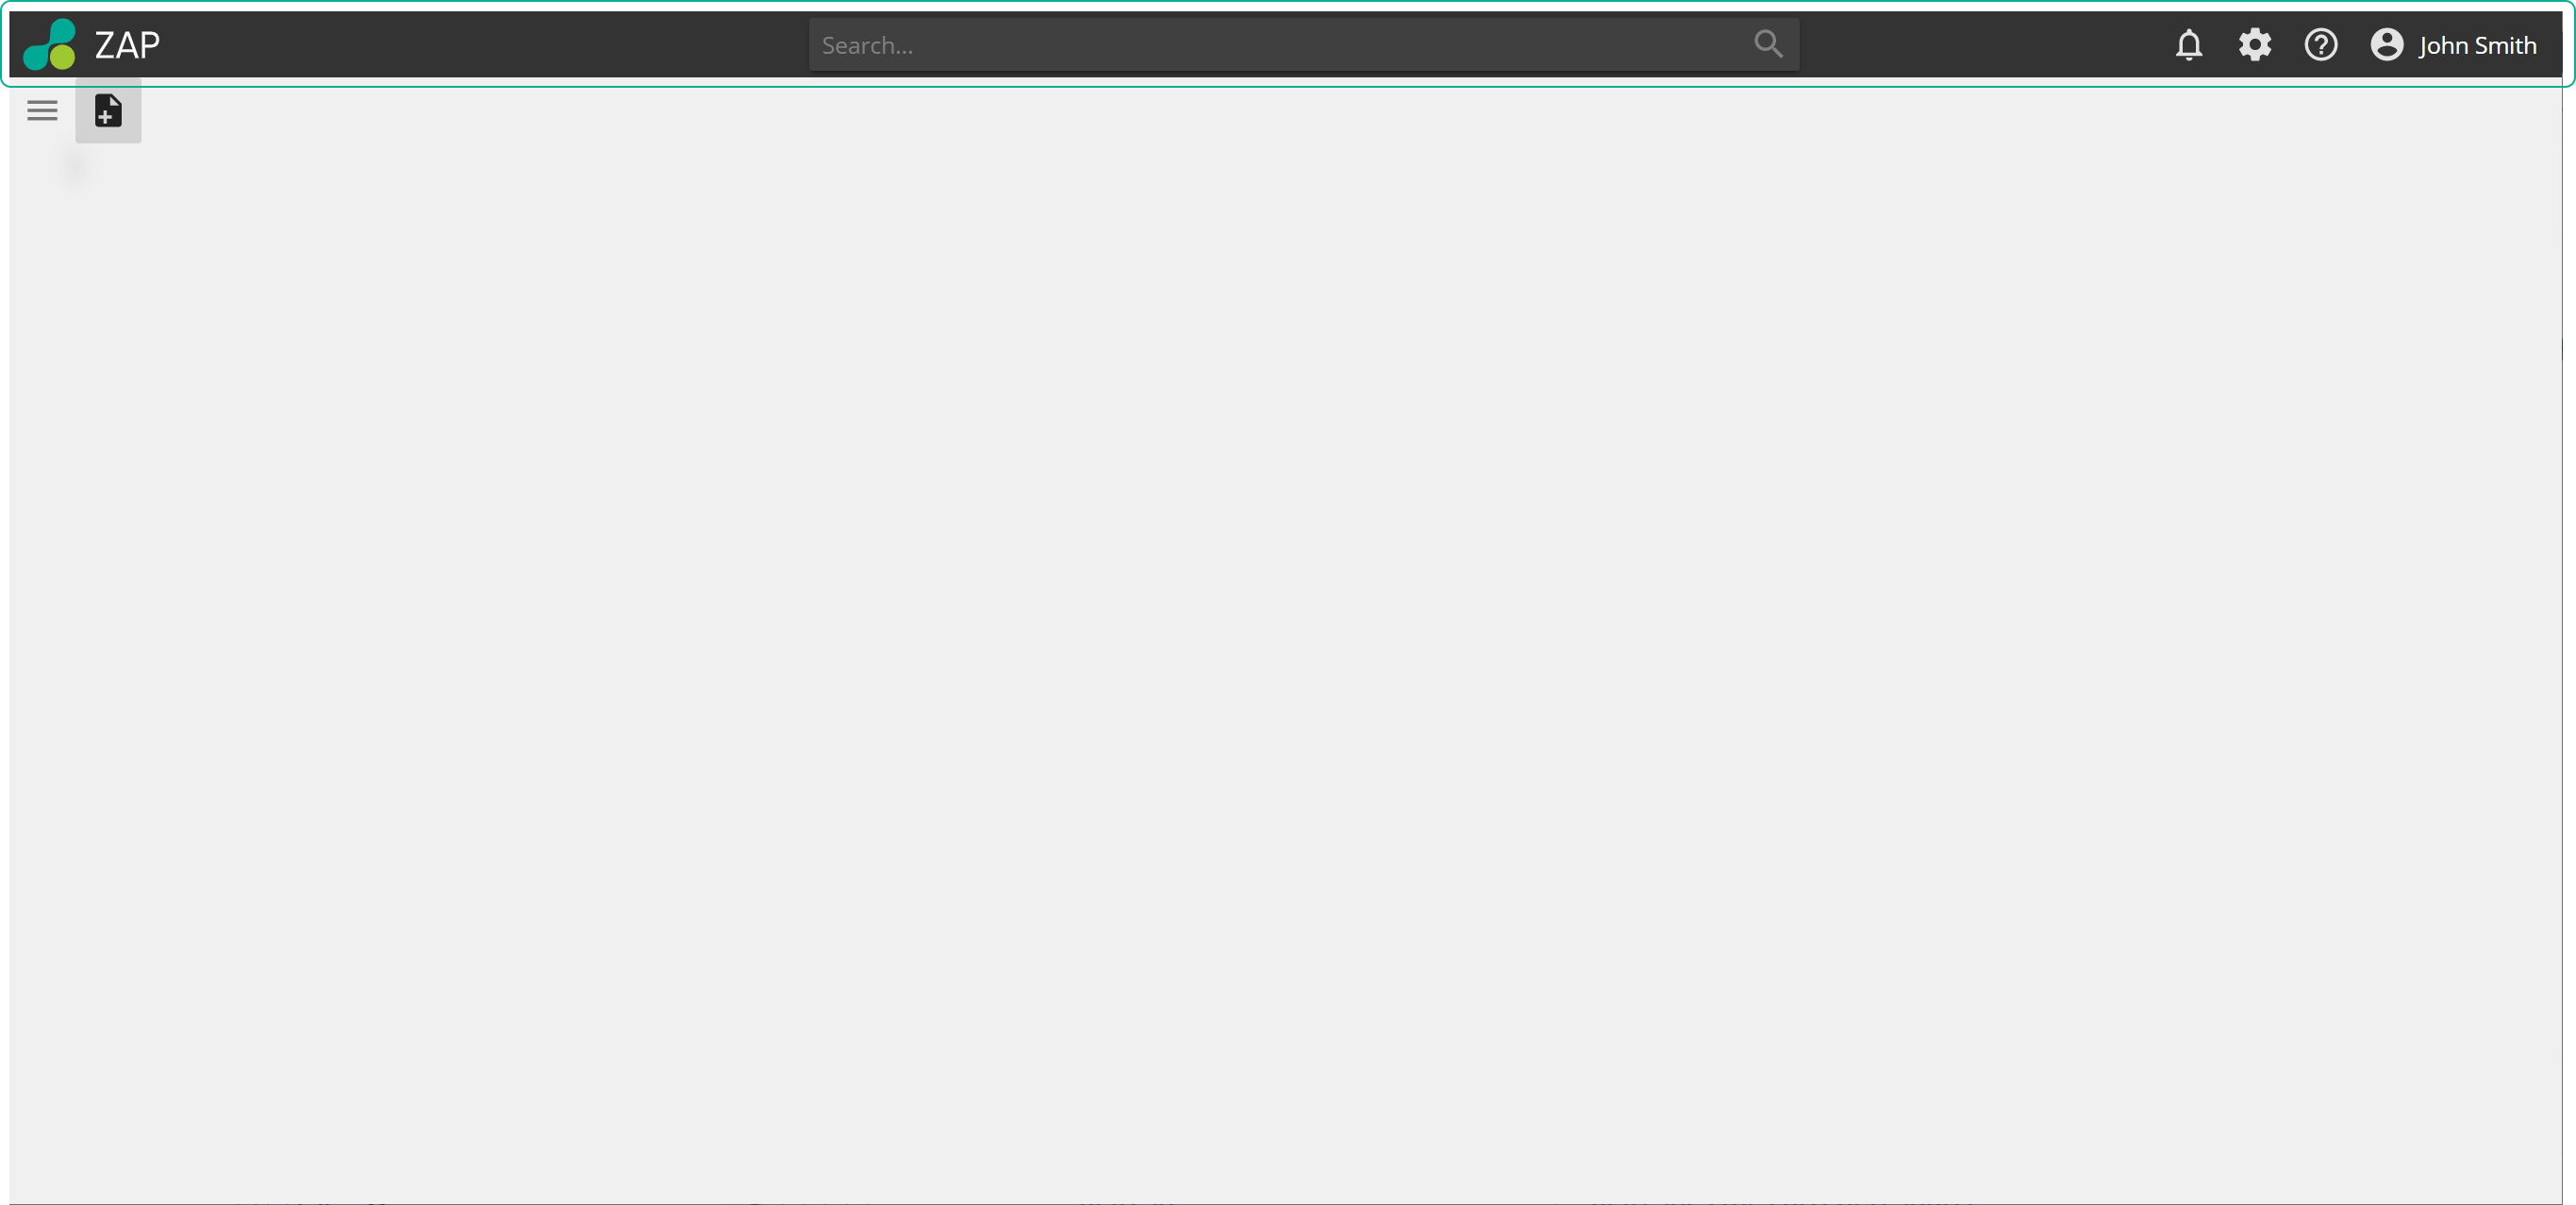
Title bar
The title bar provides always-available access to the Settings page, context-sensitive help. It also displays the currently logged-in user and their assigned role.
 |
Title bar buttons
Name | Description | Icon | Example | ||
|---|---|---|---|---|---|
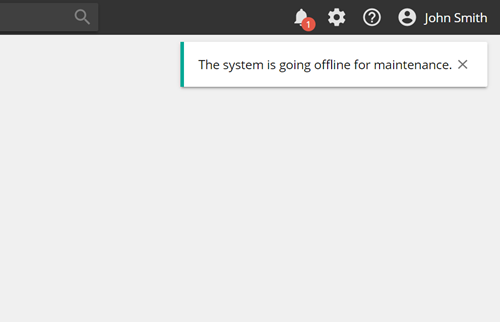
Notifications | Notifications provide users with any system notifications, for example when the system is scheduled for routine maintenance. |
|
| ||
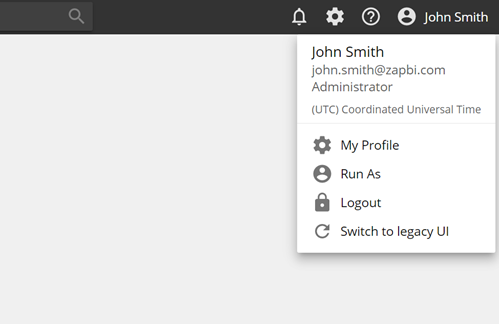
User Profile | The user profile displays the user that is currently logged in. Hover gives further information about the user's role, language, the organization they belong to, and their time zone. Click gives a menu with actions relevant to the user profile. |
|
| ||
Settings | Settings give users access to all available system settings that their particular role allows. |
|
| ||
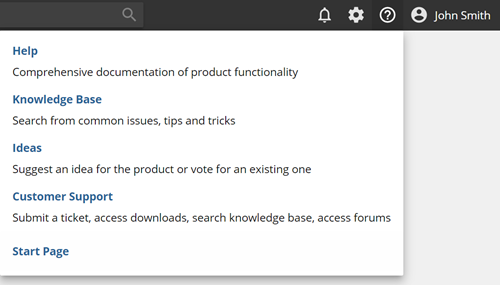
Help | Help takes the user to the context-sensitive help, the start page, customer support, and knowledge base. The start page provides links to quick start tutorials and videos to get started with Data Hub. |
|
|


Toolbar
The toolbar at the top of the screen contains tools relevant to the item open at the time. Based on the type of resource that is opened, a corresponding toolbar is displayed on the right of the bar, with functions relevant to the resource that was opened. These functions can be accessed at any time.
Name | Description | Icon | |
|---|---|---|---|
Resource Explorer | Opens the resource explorer |
| |
New resource | Opens the new resource drop-down menu. |
| |
Refresh | Refreshes the current resource. |
| |
Save | Save the current resource. |
| |
Resource Options menu | The resource options menu provides options and functions relevant to the open resource. |
| |
Edit | Edit allows the user to go to the design mode for the particular resource. When the design mode is not relevant, the edit icon is disabled. |
|


Note
Certain options and tools will appear here only when they are relevant to a particular resource. Examples are the long-running query button (which will appear only when a report has a long-running query) and the number of pages button when a report's result spans more than one page.
Resource Explorer
The resource explorer stores and provides access to all data hub resources like analyses, dashboards, and models, in a hierarchical format.
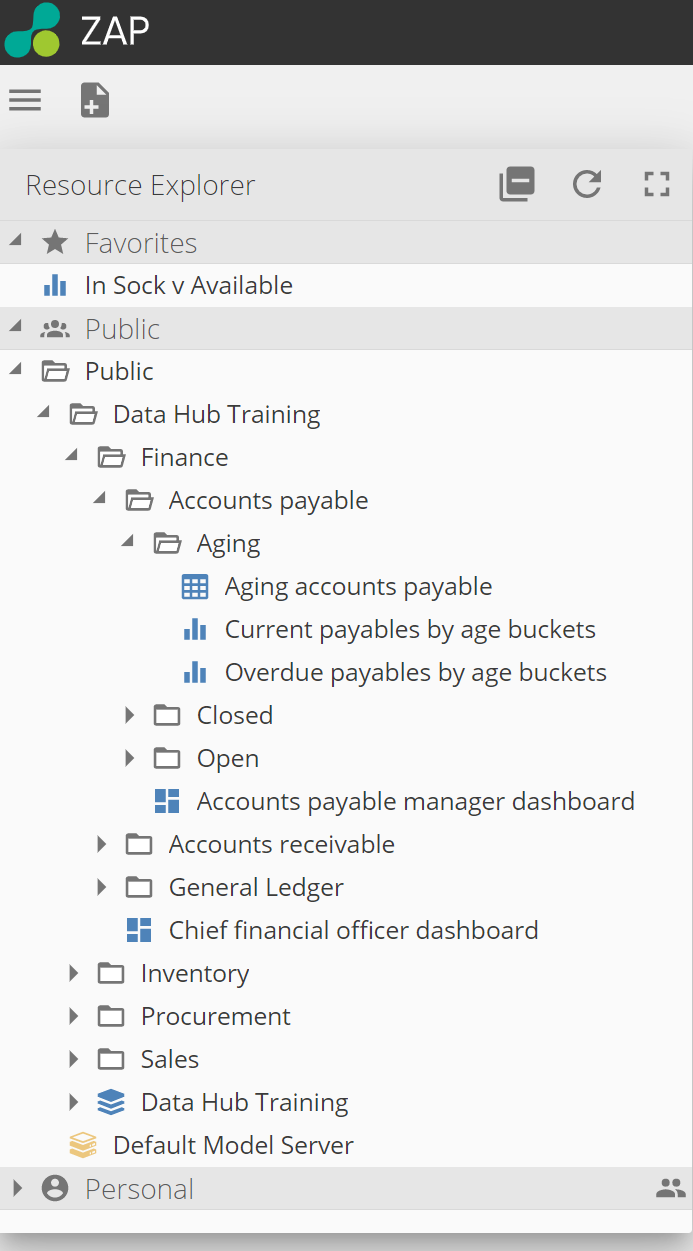 |
Layout
It is best practice to organize resources into folders. This will ensure a clean and organized environment. By default, three main folders are present:
Favorites - all resources the user marks as favorites will appear here.
Public - Items in the public folder can be accessed and seen by all users of the system. Any user can save resources to the public folder.
Personal - This is your own personal folder (names with your login username). Items and resources placed into your personal folder are only accessible and visible by you.
Right-click options
You can right-click nodes in the Resource Explorer to access additional options. The available options vary, based on the type of node selected and whether or not a single node or multiple nodes are selected. Right-clicking one or more nodes in the Resource Explorer produces a context menu providing various options relevant to the resource(s) you right-clicked on.
Note
Although designed for use with data model nodes, these right-click options are also available with other folders and resources in the Resource Explorer (e.g. analyses, charts, etc.).
The most common right-click options are:
Option | Description |
|---|---|
Rename | Allows you to change the resource's name. |
Copy | Duplicates the current resource by copying it into the clipboard. |
Cut | Moves the current resource to the clipboard for relocation. |
Paste | Copies the resource currently in the clipboard to the selected folder, which completes the duplication or movement operation started by copy or cut respectively. |
Delete | Permanently and irrevocably removes the selected resource. |
Get Link | Places a copy of the resource's URL into the clipboard, so you can embed it in another application such as Sharepoint or AX. this option only appears on resources that allow sharing via a URL. |
Export | Allows you to save the selected resources as a .zap file on your computer. This can be re-imported into other instances of Data Hub or shared with team members. |
Download | Allows you to save analyses and charts to your local computer. |
Add to Favorites | Adds the selected resource to the favorites folder. |
Summary | Displays a summary of the selected resource. |
Properties | Displays the resource's properties on the resource's tab. |
Security | Displays the resource's security information on the resource's tab. This option only appears for items in the Public folder. NoteYou can return to the resource itself by clicking the show main resource button on the tabs. toolbar. |
New Folder | When a folder (or model node) is right-clicked, allows you to create a new child folder under the selected folder (or model node). NoteYou can return to the resource itself by clicking the show main resource button on the tabs toolbar. |
Import / Upload | Import a previously exported resource from your computer. This option also allows you to upload files into the resource explorer. |
New resource | Allows you to create a new resource that will be placed in the selected folder location. |
Translate | Translates text inside the selected resources. |
Change Connection | Allows the connection to be changed for one or more resources selected. Entire folders can be selected to change the connection of all subsequent resources where a connection is relevant. |
Review Calculation | Review selected resources that have been marked for review. |
Map Resources | Map referenced resources in selected resources. |
Missing Members | Remap missing cube members in the selected resources. |
Validate | Validate all selected resources for errors. |
Favorites
Favorites allow you to create a custom list of your most-used resources.
You can specify a resource as a favorite using either of the following methods:
Open the resource, and on the Resource Options menu, choose Add to Favorites.
Right-click the resource in the Resource Explorer, and select Add to Favorites from the menu that appears.
Note
You can also remove resources from your Favorites list by right-clicking them in the Favorites list in Resource Explorer and choose Remove from Favorites
Search feature
When using the search feature, note that:
Searches are not case-sensitive.
To search for an exact term, enclose the term in double-quotes ("") such as "Sales report".
When searching for partial resource names, do not enclose any terms in quotes. For example, the resource YTD Sales Report will not be shown if searching for "Sales Report".
Select a folder node (such as a Folder or Model) prior to entering a search term to search only within the selected node.
To clear the search box, click the ✖ button on the end of the search box.
Searching within the Resource Explorer can be refined by specifying the resource type or using resource tags:
Using the resource type - type: "model server" or type: "model server" <"resource name">
Using a resource tag - tag: Retail or tag: "tag name" <"resource name">
Available Resource Types for the Resource Explorer search
Resource Type | Examples |
|---|---|
Analysis Report or Chart | type:"analysis report" type:"analysis report" <"resource name"> type:analysis type:analysis <"resource name"> |
Calculated Member | type:"calculated member" type:"calculated member" <"resource name"> |
Comparison Event | type:"comparison event" type:"comparison event" <"resource name"> |
Cube Changed Event | type:"cube changed event" type:"cube changed event" <"resource name"> |
Cube Server | type:"cube server" type:"cube server" <"resource name"> |
Dashboard | type:"dashboard" type:"dashboard" <"resource name"> |
Database Script | type:"database script "type:"database script" <"resource name"> |
Data Source | type:"data source "type:"data source" <"resource name"> |
Drill-through | type:"drill-through "type:"drill-through" <"resource name"> |
Function | type:function type:function <"resource name"> |
Image | type:image type:image <"resource name"> |
Model | type:model type:model <"resource name"> |
Model Server | type:"model server" type:"model server" <"resource name"> |
Named Set | type:"named set" type:"named set" <"resource name"> |
Pipeline | type:pipeline type:pipeline <"resource name"> |
Publication Rule | type:"publication rule" type:"publication rule" "resource name"> |
Report Pack | type:"report pack" type:"report pack" <"resource name"> |
Resource Changed | type:"resource changed" type:"resource changed" "resource name"> |
Rich Text | type:"rich text" type:"rich text" <"resource name"> |
Role | type:role type:role <"resource name"> |
Scheduled Event | type:"scheduled event" type:"scheduled event" <"resource name"> |
Shape | type:shape type:shape <"resource name"> |
Solution | type:solution type:solution <"resource name"> |
Tableau Data Source | type:"tableau data source" type:"tableau data source" <"resource name"> |
Tableau Workbook | type:"tableau workbook" type:"tableau workbook" <"resource name"> |
Unified Layer | type:"unified layer" type:"unified layer" <"resource name"> |
Webpage | type:webpage type:webpage <"resource name"> |
Hotkeys
Hotkeys are a key or combination of keys that allow you to quickly access functions within Data Hub. Hotkeys in Data Hub are pre-set and cannot be configured.
Hotekeys | Action |
|---|---|
Common | |
ctrl + s | Save |
ctrl + r | Refresh |
ctrl + q | Close tab |
shift + alt + q | Close all tabs |
ctrl + alt + q | Close all other tabs |
ctrl + p | |
alt + n | Create new resource |
Resource explorer | |
ctrl + c | Copy resource |
ctrl + x | Cut resource |
ctrl + v | Paste resource |
del | Delete resource |
alt + enter | Open resource |
Analysis and Rich Text Objects | |
ctrl + b | Bold |
ctrl + i | Italic |
ctrl + u | underline |
Dashboard | |
del | Clear cells or delete if all cells are empty |
esc | Deselect cells |
s | Enter cell splitting mode |