Xero
Pre-Requisites
Data Hub 8.0 or later.
A Xero user account with access to one or more Xero 'Organisations'.
Connecting to the data source
To add a Xero data source to an existing Data Model:
Existing Data Model
Open an existing Data Model from RESOURCE EXPLORER.
Expand Data Sources.
Click Add Data Source.
New Data Model
Select source
In the Select Source step:
Under the Apps (API) section, select Xero.
From the source type pop-up, click Connect on the Xero entry tagged Data Source.
Connect
To set up the connection between Data Hub and Xero complete the following steps:
Select the Xero API Schema to connect to from: Accounting, Assets, Files Payroll AUS or, Project.
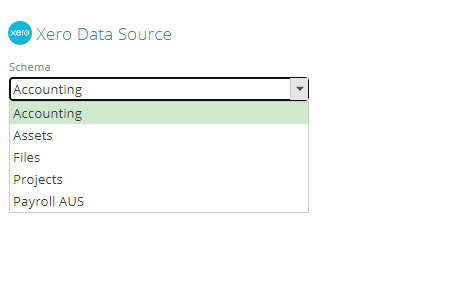
Then click Sign in.
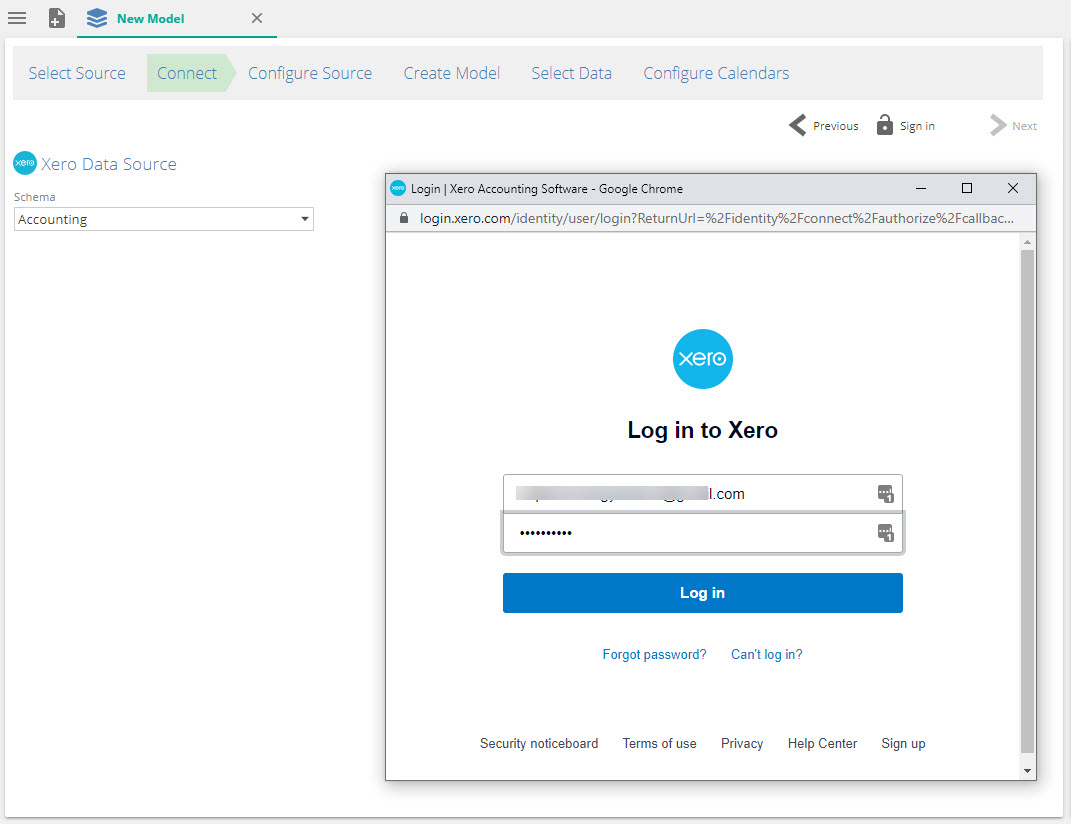
In the Log in to Xero pop-up, enter your Xero account and password and click Log in.
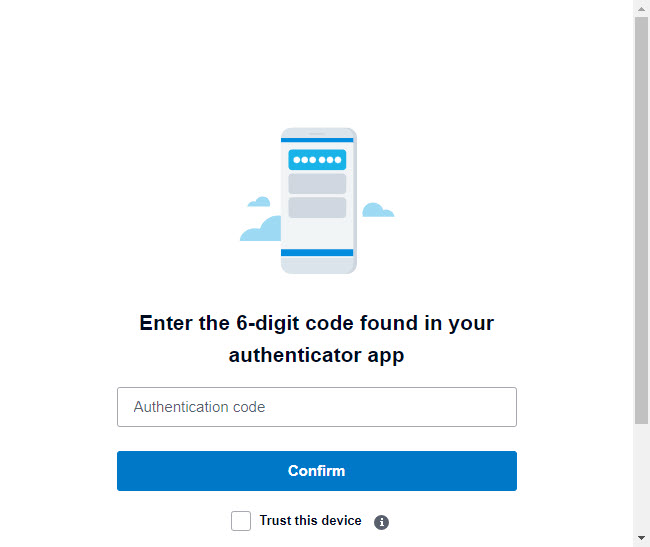
Enter your authentication code in the Xero Multi-factor authentication screen and click Log in.
Select one or more Organizations from the dropdown list, and click the blue button to allow access.
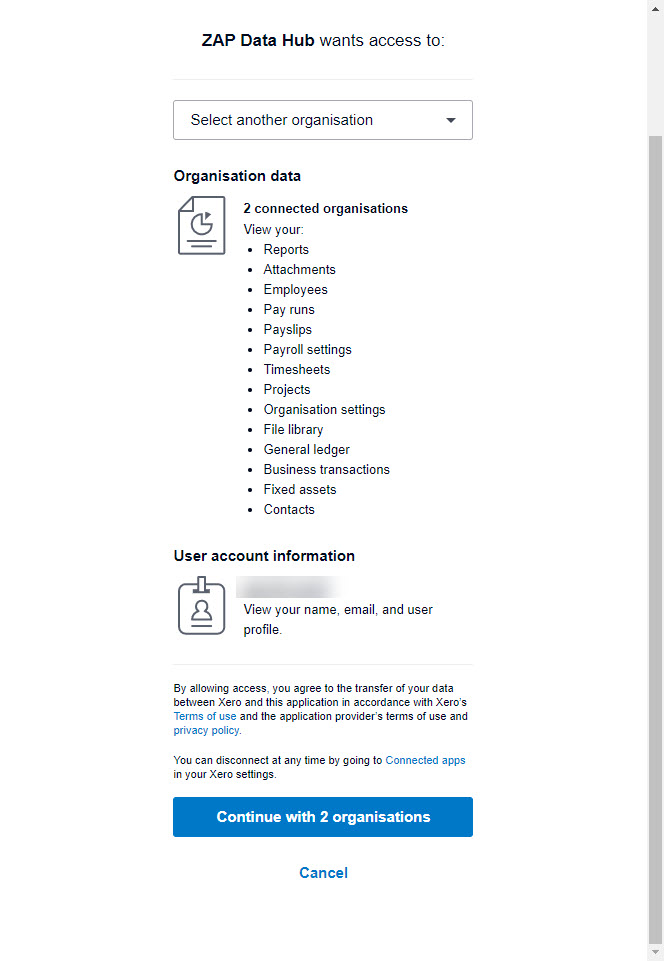
You can continue adding Organizations by signing out (black cross icon) and signing in again for every Organization, or choose to select all organizations that is available from the list.
Once you have finished adding / allowing access to Organizations, Test Connection becomes available in Data Hub
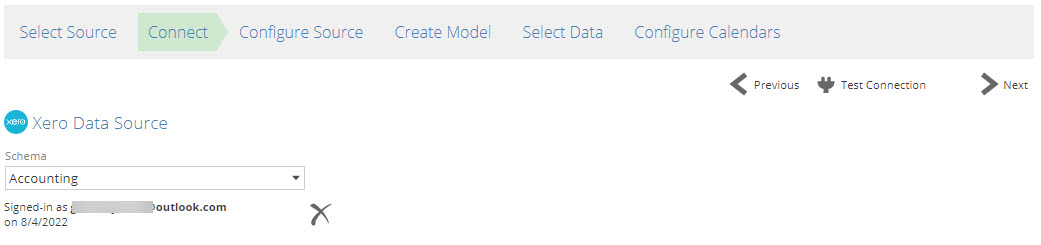
Click Test Connection
Click Next to continue to the Configure Source step.
Configure source
To specify which entities (or companies) should be available for analysis in Data Hub:
Review the Organizations you wish to synchronize in Data Hub by checking/unchecking them and select a Primary Organization.
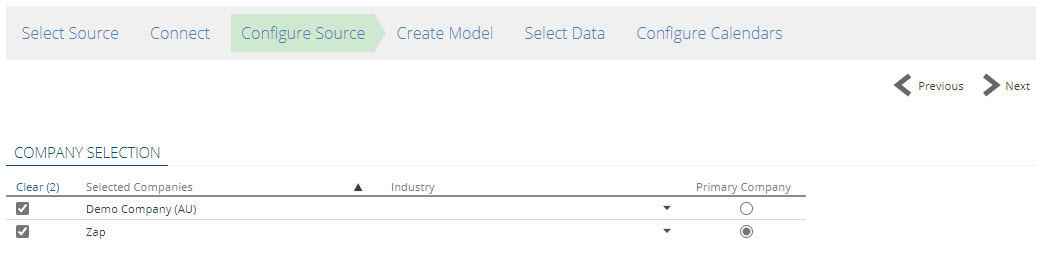
Click Next to continue to the Select Data step.
Select data
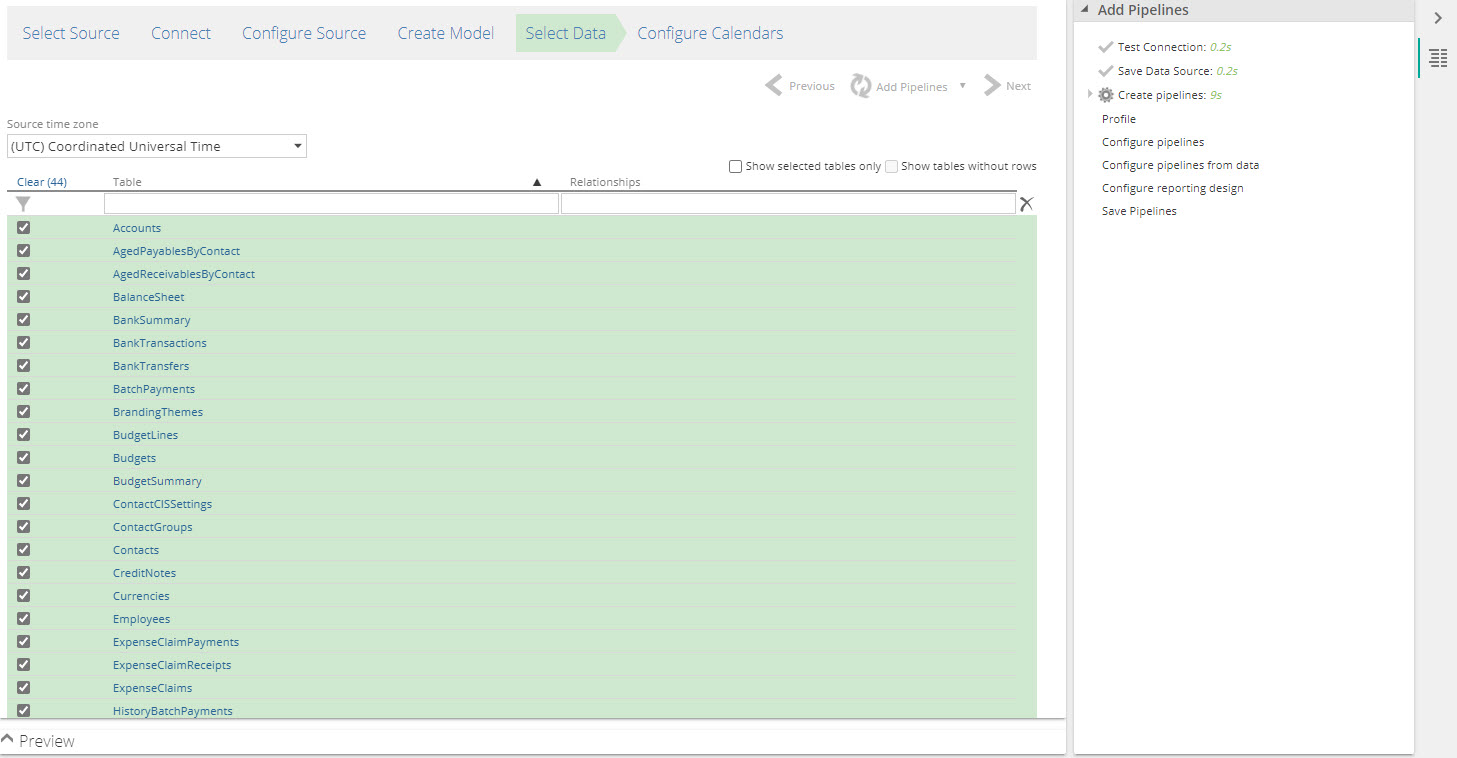
Select tables to be added as pipelines using the check box column.
If the Finish button was not used to add pipelines, click Finish to complete adding the Xero data source.
Select data screen elements
Select Data screen contains the following elements:
Select All/Clear
If no table check boxes are currently selected: Select All can be used to select all of the tables in the source database.
If one or more table check boxes are selected: Clear (x) can be used to clear all the selected tables.
Show selected tables only - Hides all tables where the check box column is currently cleared (not selected).
Show tables without rows - When selected, this item shows all source tables, including tables that do not contain data.
Add Pipelines - Select Add Pipelinesto add all selected tables to the data model as individual pipelines. The Add Pipelines drop-down menu provides two options:
Add Pipeline as Union of Tables creates a single pipeline from the union of selected tables from this data source.
Add Pipelines is the same function as the Add Pipelines button.
Note
If all of the tables in the data source are selected, the pipeline will always perform a union on all tables from the data source, even if the table list changes. For example, if the data source contains only tables of sales for USA, UK, and Europe, selecting them all will union the three tables into a single pipeline. If a fourth table with sales for Australia is later added, it will automatically be included in the union for the pipeline.
Finish - Adds the selected tables as individual pipelines and finalizes adding the SAP Business One data source. Once the request has been processed, Data Hub opens the Data Model Overview.
The filter row - The first row of the Select Data table is the filter row. Use the fields to filter rows based on the column contents. To clear all filters entered, either delete the entered text or use the Clear filter icon at the end of the row.
FAQ's
Q: Does Data Hub remember my login, or do I have to reconnect every now and then?
A: You only need to sign-in once, Data Hub remembers your login and keeps the connection to Xero active.
Q: How do I disconnect from Xero?
A: Simply click the black cross button to sign out within the Xero datasource.
Q: Which Xero APIs can Data Hub connect to?
A: Data Hub lists all the available APIs in the Schema dropdown list. Supported APIs are are: Accounting, Assets, Files, Projects and Payroll AUS APIs.
Q: Can I combine more than one Xero organization in Data Hub?
A: Yes. Xero requires that you re-authenticate and allow access to the company you would like to connect to. You will need to sign-out and sign-in again, then select a company to connect to. Once you have allowed access to this company, Data Hub will list it in the COMPANY SELECTION tab of the Xero connector. When more than one organization is selected, Data Hub automatically combines the Xero data, so modeling is only done once and applies to all organizations.
Q: Does the Xero connector write data to Xero?
A: No. The Xero connector only extracts data from Xero.
Q: Can I connect and extract data coming from Xero Reports?
A: Yes. You will notice that ZAP also lists all Xero Reports as endpoints in the TABLES tab of the datasource.
Q: Can I sign-in with more than one Xero account ?
A: Yes. You can add organizations that are linked to a different Xero account and automatically combine them in the data warehouse. Open the Xero datasource, navigate to the Additional Sources tab, click + Add Datasource, locate the Xero connector then click Connect. The same authentication configuration then applies.
More Information about Xero.